🍰 2 servings | ⏱️ 15m prep | 🔥 30m cook | ❄️ 1.5 hrs chill | ⚡ Total: 1 hr 15 mins | 🔥 580 kcal
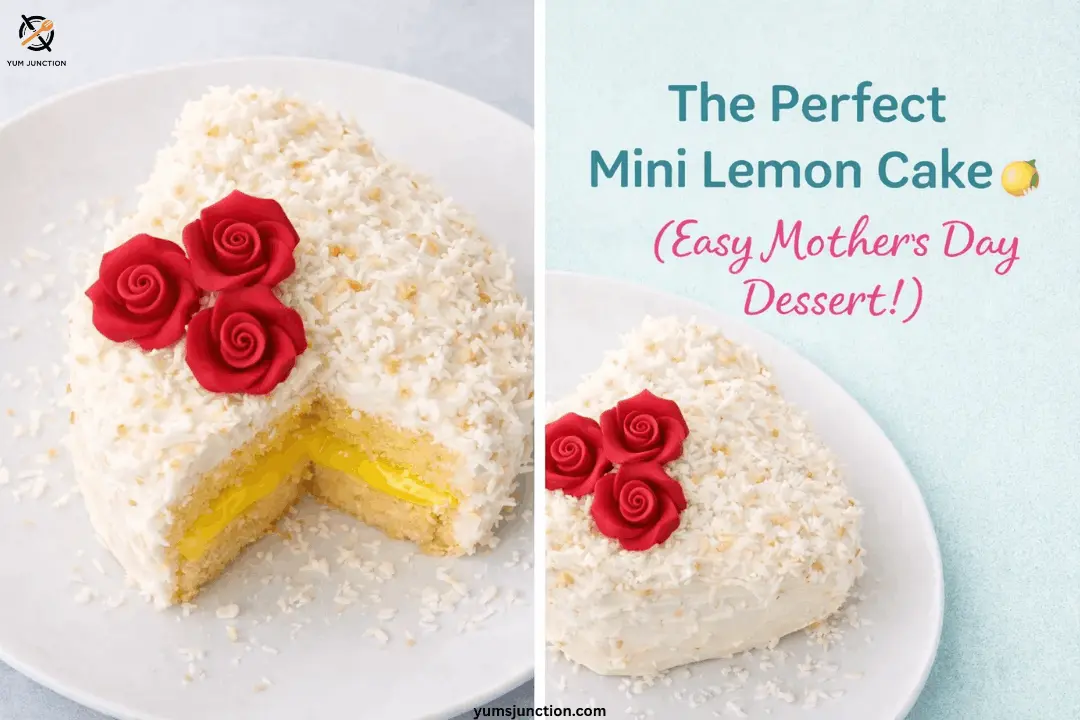
Hi everyone, Welcome back to YumsJunction! In this post, I’m going to be telling you how to make a cake. This one is an individual lemon cake, and it is so pretty and elegant, making it absolutely perfect for Mother’s Day!
The preparation time and the cooking time combined are going to be less than an hour, so you can whip this up without spending your whole afternoon in the kitchen.
If you want more small, special-occasion desserts, you’ll also love my Small Batch Red Velvet Cake and my super cute Christmas Tree Brownies.
Table of Contents
Why You’ll Love This
I know you are going to fall in love with this little cake! Here is why it’s a total winner:
- It’s the perfect size! It makes one gorgeous 5×5 heart-shaped cake, plus just enough leftover batter for four cute mini cupcakes on the side.
- It’s beginner-friendly. Even a total newbie can make it.
- The ultimate flavor combo. Tangy lemon zest, sweet fluffy icing, and a hidden layer of tart lemon curd inside makes this completely irresistible.
Planning a whole Mother’s Day menu? Pair this little lemon cake with my Easy Chocolate Covered Strawberries or a pretty Charcuterie Board for the sweetest spread.
What You’ll Need
Special Equipment:
- 5×5 inch heart-shaped baking pan (or similar small baking dish)
- Mini cupcake/muffin tin
- Electric stand mixer or hand mixer
- Mixing bowls (Pro tip: place the icing bowl in the freezer for 1 hour prior!)
- Small knife or offset spatula for decorating
- Small faux decorative roses (optional, for decoration only)
For the Cake:
- ¾ cup All-purpose flour
- ½ tsp Baking powder
- ⅛ tsp Salt
- ¼ cup Unsalted butter, softened
- ⅓ cup Whole milk
- 1 large Egg yolk
- 1 tsp Vanilla extract
- 1 tbsp Fresh lemon zest
- ½ cup Granulated sugar
For the Fluffy Whipped Icing:
- ½ cup Heavy whipping cream (very cold)
- 2 tbsp Powdered sugar
- ½ tsp Vanilla extract
For the Filling & Decorating:
- 3 tbsp Lemon curd
- ½ cup Shredded coconut
- Faux decorative roses (like the ones from Michaels!)
Let’s Get Baking!
1. Preheat & Prep
First things first: preheat your oven to 350°F (177°C). Thoroughly butter and flour your 5×5 heart-shaped pan, and lightly grease four sections of a mini cupcake tin.
2. Mix Dry Ingredients
While the oven is getting hot, whisk your dry ingredients—the flour, baking powder, and salt—in a small bowl and just set them aside.
3. Combine Wet Ingredients
Using an electric mixer, combine your milk, softened butter, and the egg yolk. Add in the vanilla extract and plenty of fresh lemon zest. Mix on high speed for about two minutes until everything is well incorporated.
4. Add the Sugar
Turn the mixer speed to low and add in the granulated sugar. Increase the speed back to high and continue to mix for about three minutes, or until the sugar is completely dissolved and integrated.
5. Form the Batter
Turn the speed back down to low. Gradually add in your flour mixture. Mix on medium-low just until everything is well incorporated into a beautifully smooth batter. Don’t overmix!
6. Fill the Pans
I always use a sweet 5×5 heart-shaped pan for this. Just pour the batter in, but because we definitely don’t want the cake to overflow, leave enough room at the top. Use any leftover batter to make four mini cupcakes! Divide it evenly into the molds.
7. Bake
Bake at 350°F. The mini cupcakes will bake really fast—in about 10 to 12 minutes—so keep a close eye on them. The main cake takes about 25 to 35 minutes. You will know it’s cooked when you insert a toothpick right into the middle and it comes out with just a few moist breadcrumbs.
8. Cool Completely
Let the cake cool in the pan for about 10 minutes, then run a little knife around the edges and transfer it to a cold surface or a wire rack. Let the cake cool completely before icing it! Wait for it!
9. Whip the Icing
While the cake cools, whip up a quick, fluffy icing. I highly recommend keeping your mixing bowl in the freezer for about an hour before making the icing—it helps it get nice and thick! In your chilled bowl, combine the heavy whipping cream, powdered sugar, and vanilla. Whip it up with your electric mixer on high for 4 to 5 minutes until it’s perfectly fluffy. Keep it in the fridge until you need it.
10. Assemble the Cake
Once the cake is totally cold, carefully slice it in half horizontally to make a beautiful two-layer cake. Top that bottom layer with a nice, even layer of lemon curd, place the second cake layer right on top, and we are ready to ice.
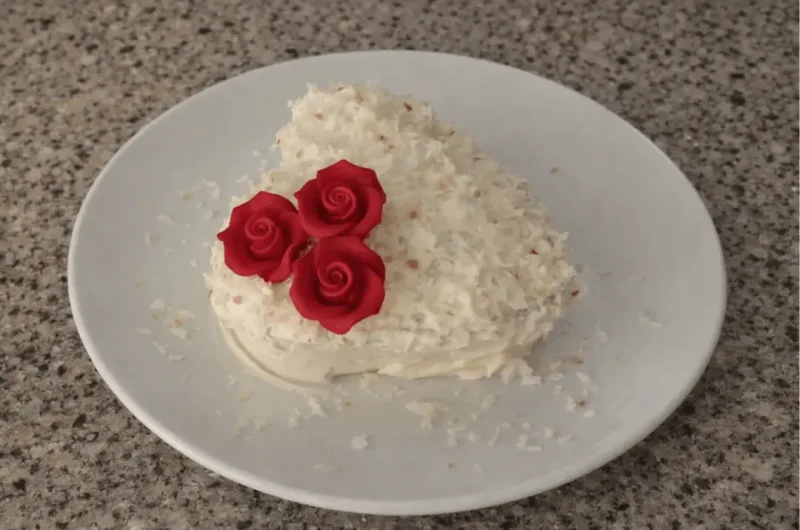
11. Decorate (My Simple Technique!)
Just use a small knife or offset spatula to cover the outside of the cake with your fluffy icing. It doesn’t have to be perfect at all! Then just sprinkle a little bit of shredded coconut all over it, which will beautifully cover any imperfections. I personally also love to decorate with little faux roses on top. Just decorate the mini cupcakes with the leftover icing and coconut, and that’s about it!
If citrus is your thing, don’t forget to check out my One-Pan Garlic Lemon Salmon & Veggies for dinner, and my cozy Easy Mexican Hot Chocolate to sip alongside this cake.
FAQs
How do I make my lemon cake extra moist?
Hey guys, the secret to a super moist cake is to avoid overmixing your batter! Once you add the flour, just mix it on medium-low until it’s perfectly smooth. Also, keep an eye on your oven—bake it just until a toothpick comes out with a few moist crumbs. The whole milk and butter in this recipe will do the rest of the work to keep it tender!
How can I get a strong lemon flavor in my cake?
It’s all about the zest! Fresh lemon zest contains natural, flavorful oils that really make the citrus flavor pop without making the batter too liquidy. If you want an even bigger punch of lemon, try gently rubbing the lemon zest into your sugar with your fingers before adding it to the mixer to release all those amazing oils.
Why did my cake turn out dense?
If your little cake feels dense, it usually means the batter was overmixed or there was a bit too much flour. Always make sure to spoon your flour into the measuring cup and level it off with a knife, rather than scooping it straight out of the bag!
Can I bake this in a regular round pan?
Absolutely! If you don’t have a 5×5 heart-shaped pan, you can use a small 6-inch round pan, or even divide all of the batter to just make standard-sized lemon cupcakes. Just remember to keep an eye on the baking time, as different pans will cook a little faster or slower.
Individual Lemon Cake for Mother’s Day
Course: DessertCuisine: AmericanDifficulty: Easy2
servings15
minutes30
minutes580
kcal30
minutes60
minutes1
hour15
minutesA perfectly portioned, bright and fluffy lemon cake filled with tart lemon curd, covered in whipped icing, and dusted with shredded coconut. Bakes beautifully in a 5×5 heart-shaped pan with enough batter left over for 4 mini cupcakes!
Ingredients
- Equipment Needed:
5×5 baking pan
Mini cupcake tin
Electric mixer
Small knife/spatula
- Ingredients:
90g (¾ cup) All-purpose flour
2g (½ tsp) Baking powder
1g (⅛ tsp) Salt
56g (¼ cup) Unsalted butter (softened)
80ml (⅓ cup) Whole milk
1 large Egg yolk
4g (1 tsp) Vanilla extract
6g (1 tbsp) Fresh lemon zest
100g (½ cup) Granulated sugar
120ml (½ cup) Heavy whipping cream (very cold)
15g (2 tbsp) Powdered sugar
2g (½ tsp) Vanilla extract (for icing)
45g (3 tbsp) Lemon curd
40g (½ cup) Shredded coconut
Directions
- Preheat oven to 350°F (177°C). Butter and flour a 5×5 inch heart-shaped pan and 4 mini cupcake molds.
- Whisk together flour, baking powder, and salt in a bowl. Set aside.
- In a stand mixer, combine milk, softened butter, egg yolk, vanilla extract, and lemon zest. Mix on high for 2 minutes.
- Reduce speed to low, add granulated sugar. Return speed to high and mix for 3 minutes until sugar is dissolved.
- Reduce speed to medium-low, add the dry flour mixture, and mix until just combined into a smooth batter.
- Pour batter into the 5×5 pan (do not overfill) and use the remaining batter for 4 mini cupcakes.
- Bake cupcakes for 10–12 minutes, and the cake for 25–35 minutes until a toothpick inserted in the center comes out with moist crumbs.
- Cool the cake in the pan for 10 minutes, then turn out onto a wire rack to cool completely.
- For the icing, beat the heavy cream, powdered sugar, and vanilla in a chilled bowl on high speed for 4–5 minutes until thick and fluffy.
- Slice the cooled cake in half horizontally. Spread the lemon curd over the bottom layer, then top with the second layer.
- Frost the entire cake with the whipped icing using a small knife.
- Sprinkle shredded coconut all over the icing, and garnish with decorative non-edible roses. Repeat frosting process with the mini cupcakes.
Notes
- Pro Tip: Keep your metal mixing bowl in the freezer for an hour before whipping the icing! It helps the cream whip up so much faster and fluffier.
- Storage: Because this cake features a whipped cream frosting and lemon curd, store any leftovers in an airtight container in the refrigerator for up to 3 days. Cakes topped or filled with whipped cream and curd should not be kept at room temperature.
- Decorating Hack: Don’t stress if your frosting skills aren’t professional level! The shredded coconut easily hides any little bumps or uneven icing patches.
- Safety Note: The faux roses are strictly for decoration to make it look elegant for Mother’s Day. Please remove them before eating!