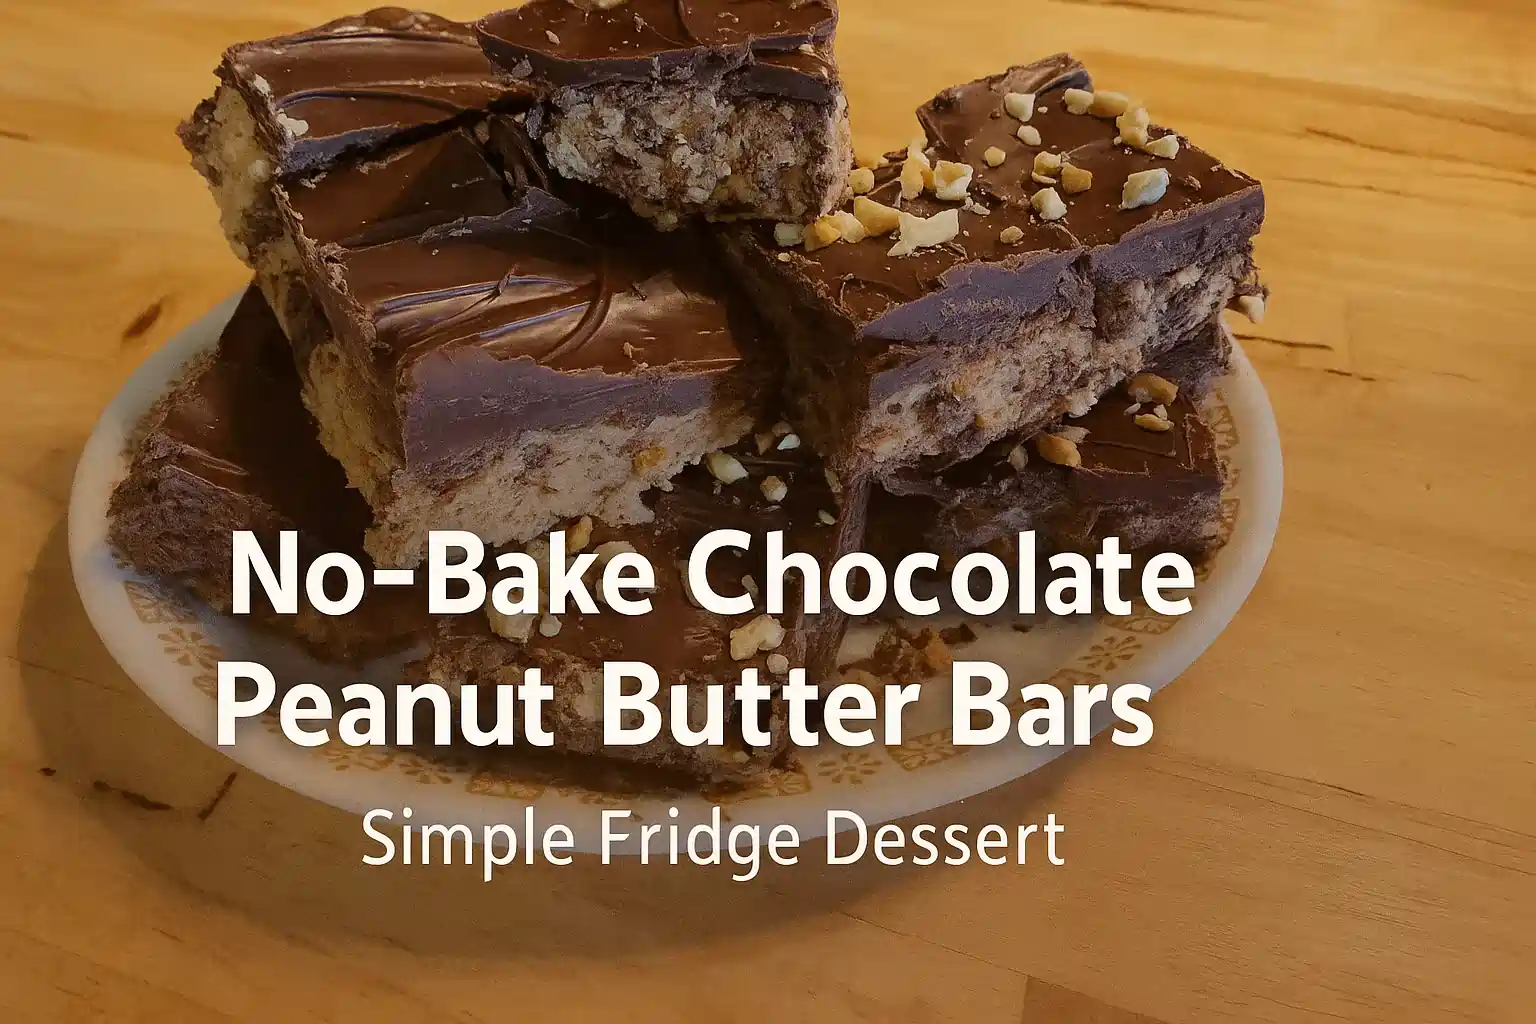
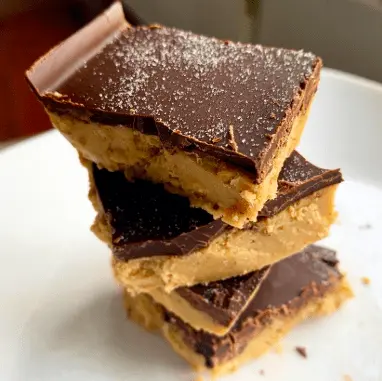
Today, we’re making a no-bake chocolate peanut butter bar. Seriously, these are so good, and they’re perfect for any occasion.
You can find variations of this recipe kind of all over the internet, and they’re all a little different. But today, we’re going to do this at least two ways: a Creamy version and a Crunchy version.
So, we’re gonna go over the basic ingredients first, what you have to have.
Jump to RecipeNo-Bake Chocolate Peanut Butter Bars (Creamy or Crunchy)
- Yields: 24–30 bars
- Prep time: 20 minutes
- Chill time: 2 hours
Ingredients:
- The Crust/Filling:
- 1 cup (2 sticks / 227g) salted butter, softened to room temperature (or melted)
- 2 cups (240g) powdered sugar (confectioners’ sugar)
- 9 to 12 oz vanilla wafers OR graham crackers (crushed into fine crumbs, approx. 2.5 to 3 cups)
- 1 cup (250g) peanut butter (Creamy OR Crunchy)
- 1 tsp vanilla extract (optional)
- Optional: ½ cup mini semi-sweet chocolate chips (for the “Crunchy” version)
- The Topping:
- 1 bag (12 oz) semi-sweet chocolate chips
- ½ cup (125g) creamy peanut butter
- Optional: Chopped peanuts or pecans for garnish
The “Two Ways” Strategy
- The Filling: You can use a cup of creamy or a cup of crunchy peanut butter.
- The Topping: You definitely need a half-cup of creamy peanut butter mixed with your chocolate chips for that smooth layer on top.
You can also add a bag of mini semi-sweet chocolate chips to the filling for a crunch. You really want the mini ones because a whole chocolate chip is kind of hard to chew in a bar like this. If you don’t have any mini chips, you can also use chopped-up regular chips.
Step 1: Get Those Cookies Crushed
You want to crumble your cookies up as fine as you can get ’em. You can use a food processor if you have one, but not all of us do. A good trick is to leave them in the bag, poke a couple of tiny holes in it with a straight pin to let the air out, and use a rolling pin. Or, just mash them between your hands! This is a great job for the kids.
Step 2: Mix Up The Filling
Start by adding cookie crumbs to two cups of powdered sugar and giving that a mix. Then, add a cup of butter. I use room-temperature butter because it’s faster, but you can melt it if you prefer. Just mix it until combined.
If you’re making the whole batch one way (all creamy or all crunchy), just dump your cup of peanut butter in right now with the butter. It mixes up really easily—no mixer required, just fold it together. If you’re splitting them, divide the crumb mixture first, then add creamy peanut butter to one bowl and crunchy peanut butter (plus those chopped chocolate chips) to the other.
Step 3: Press and Top
Press the mixture into a 9×13 pan that you’ve wiped with butter. It might feel a little soft and sticky right now, but once it hits the refrigerator, it will firm up nicely.
For the topping, melt one bag of semi-sweet chocolate chips with a half-cup of creamy peanut butter. You can do this on the stovetop on really low heat or in the microwave. If you use the microwave, go slow! Start with 45 seconds, then 15-second intervals. Don’t overheat it or the chocolate will lump up. The peanut butter has plenty of oil in it, so it makes the topping melt really smooth and shiny.
Pour that chocolate goodness over the top and spread it out. I like to leave a little texture in mine, but you can smooth it perfectly if you want.
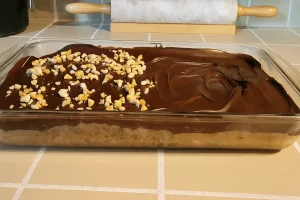
Step 4: Chill Time
You want to refrigerate this for at least an hour, but I really recommend 2 hours before you try to cut it. It needs to get real stiff. You can store these in the fridge, or even wrap them up and keep them in the freezer for several months.
Slice into squares. Serve cold or at room temperature.
If you like this recipe Explore more recipes.
No-Bake Chocolate Peanut Butter Bars
Course: DessertCuisine: AmericanDifficulty: Easy24
servings20
minutes2
hours280
kcal2
hours20
minutesThese bars are rich, dense, and taste just like a peanut butter cup. This recipe is designed to be flexible—you can make them smooth and creamy, or add texture with crunchy peanut butter and mini chips.
Ingredients
1 cup (227g) salted butter, softened or melted
2 cups (240g) powdered sugar (confectioners' sugar)
9–12 oz (approx. 250-340g) vanilla wafers or graham crackers (yields approx. 3 cups crumbs)
1 cup (250g) peanut butter (creamy or crunchy for filling)
1 tsp (5ml) vanilla extract (optional)
12 oz (340g) semi-sweet chocolate chips (1 standard bag)
½ cup (125g) creamy peanut butter (for topping)
Optional: ½ cup mini chocolate chips (for inside the filling)
Optional: Chopped peanuts (for garnish)
Directions
- Crush the Cookies: Crush 9 to 12 ounces of vanilla wafers or graham crackers into fine crumbs. You can use a food processor, or place them in a bag and crush them with a rolling pin.
- Mix Dry Ingredients: In a large mixing bowl, combine the cookie crumbs and 2 cups of powdered sugar.
- Add Wet Ingredients: Add 1 cup of softened butter, 1 teaspoon of vanilla, and 1 cup of peanut butter. Mix well by hand until everything is thoroughly incorporated. Tip: If you want a crunchy texture, use crunchy peanut butter and fold in a handful of mini chocolate chips.
- Press into Pan: Grease a 9x13 inch baking pan with a little butter. Dump the peanut butter mixture into the pan and press it down firmly to create an even layer.
- Make the Topping: In a microwave-safe bowl, combine the bag of semi-sweet chocolate chips and ½ cup of creamy peanut butter. Microwave on high for 45 seconds, stir, then continue in 15-second intervals until melted and smooth. The peanut butter acts as the oil to make it shiny.
- Frost: Pour the melted chocolate mixture over the peanut butter base. Spread evenly with a spatula.
- Chill: Place the pan in the refrigerator for at least 2 hours to set.
- Serve: Once firm, slice into squares. Store leftovers in the refrigerator.
Notes
- Storage: These bars are best stored in the refrigerator. They will soften up if left out at room temperature for too long.
- Freezer Friendly: You can cut these up, wrap them individually, and freeze them for several months.
- Substitutions: You can use almond butter or sunflower seed butter if you have peanut allergies.
- Chocolate: If using milk chocolate chips instead of semi-sweet, remember the bars will be much sweeter since the base already has plenty of sugar.
- "Making Do": If you don't have mini chips for the filling, you can chop up regular chips, but mini ones have a better texture for biting into.
read more: