[⏱️ Prep: 10 mins | 🔥 Cook: 15 mins | 🍗 Servings: 2 | ✅ Difficulty: Easy | ❄️ Chill: 30 mins]
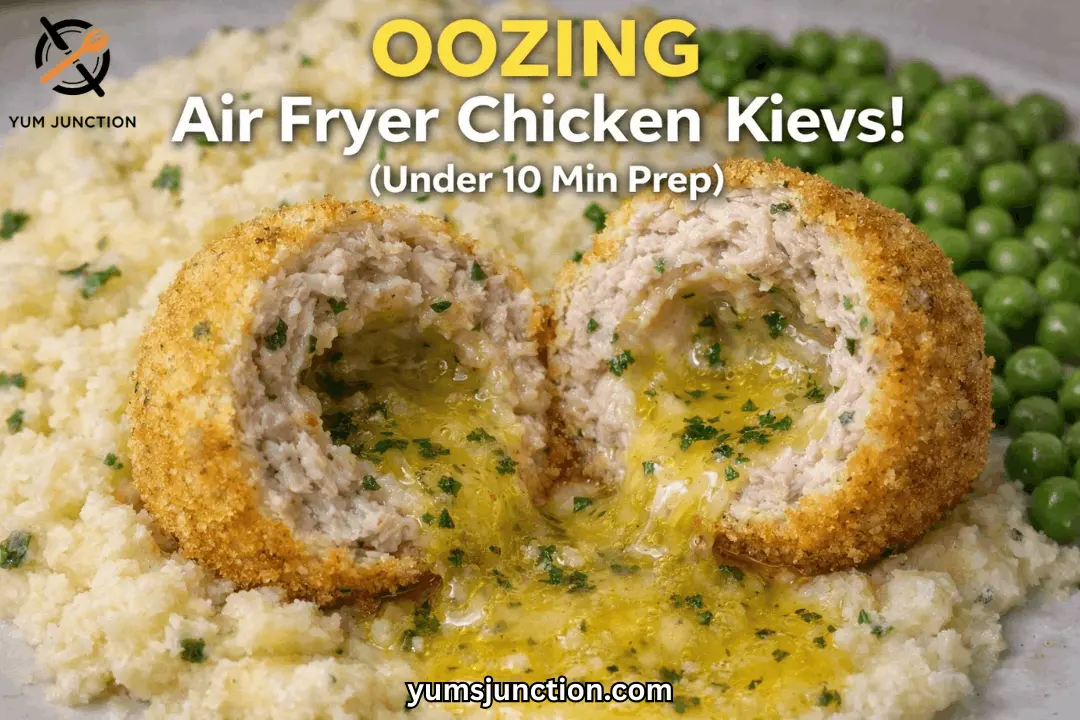
We are making little Mini Chicken Kiev Balls.
I will tell you guys how to make six of Mini Chicken Kiev Balls, which perfectly feeds two people because these are fairly generous. They’re pretty big, and best of all—they will completely ooze when you cut into them! They have that gorgeous, parsley-garlic butter right in the center, wrapped in juicy chicken, covered in crispy breadcrumbs, and air-fried to perfection.
It’s quick, it’s easy, and they are so, so delicious!
Table of Contents
Why You’ll Love This
- The Ultimate Ooze: There is nothing quite like cutting into that crispy, golden shell and watching that glorious garlic and parsley butter melt right over your plate.
- Lightning Fast Prep: Honestly, these took me less than 10 minutes to prep. It really is that quick!
- Air Fryer Magic: Whether you’re using a Ninja Foodi or a standard air fryer, you get that deep-fried crunch without dealing with a massive pot of hot oil.
- Totally Customizable: It made six generous portions for a hearty dinner, but you can easily scale these down into bite-sized balls to serve as fun little party canapés!
If you love these oozy, crispy bites, also try my Slow Cooker Cranberry Meatballs for effortless party crowds!
What You’ll Need
Special Equipment
- Air Fryer (Ninja Foodi or any standard basket/oven style)
- Mixing bowls
- Parchment paper & a small plate (for freezing the butter)
- Meat thermometer (crucial for checking chicken doneness)
- Oil sprayer
For the Garlic Butter Center
- 50g (approx. 3.5 tbsp) Butter, softened
- 2 cloves Garlic, crushed
- 1 tsp Dried parsley
For the Chicken Balls & Coating
- 500g (1 lb) Ground chicken (chicken mince)
- Salt and freshly ground black pepper (to taste)
- 2 tbsp All-purpose flour
- 1–2 Large eggs, beaten
- 50g (approx. 1 cup) Panko breadcrumbs
- Vegetable oil spray (for the air fryer)
Let’s Get Cooking!
1. Prep and Freeze the Butter (The Absolute Key!)
The real star is the garlic butter. In a small bowl, mash the 50 grams of softened butter with the crushed garlic and dried parsley until well combined. Chop it up pretty roughly and form the butter into 6 equal-sized chunks. Place them on a parchment-lined plate.
Crucial Step: Pop it in the freezer for at least 30–45 minutes until completely rock hard. Putting a rock-solid piece of butter into the middle helps us so much when cooking. It melts perfectly during the cook time without escaping, and it makes it a million times easier to encase when you have the chicken mince in your hand!
2. Prepare the Chicken
In a medium mixing bowl, add the ground chicken mince. Season generously with salt and black pepper, and mix lightly with your hands to distribute the seasoning.
If your feeding two, Just split the mixture roughly in half, and then split those halves into three to get 6 equal portions (roughly 80g each if you are weighing them).
3. Stuff the Kievs
Get a portion of the chicken into your hand and flatten it out into a disc in your palm. Place one chunk of the frozen garlic butter right in the middle.
Tip: If your butter piece is a little bit on the big side, just chop a piece off—you can always save the extra in the freezer!
Carefully encase it by folding the chicken over the butter. Roll it gently in your hands to create a smooth little ball. Ensure there are absolutely no thin spots or cracks where butter could escape. Repeat for all 6 balls.
4. The Breading Station
Set up three shallow bowls: one with the flour, one with the beaten eggs, and one with the Panko breadcrumbs.
Lightly roll each chicken ball in the flour, shaking off the excess. Pro-tip: This light dusting of flour helps create a leak-proof seal so your butter doesn’t explode in the air fryer!
Next, dip into the beaten egg to help everything stick, allowing any excess to drain off. Finally, roll the ball in the Panko breadcrumbs, pressing gently so it is really well coated for that perfect crunch.
If you love breaded apps like these, also try my The Easiest Pizza Sliders Ever for quick game-day wins!
5. Air Fry to Golden Perfection
Preheat your air fryer to 180°C (350°F) for 5 minutes. Give the air fryer basket a quick spray with oil to prevent sticking.
Place the breaded chicken Kiev balls into the basket, giving them a little bit of space around each one. Lightly spray the tops with a bit more oil.
6. Flip and Finish
Drop the lid and cook them for 15 minutes. Halfway through the cooking time, gently flip the balls over and spray any dry spots with a little more oil so we get a nice, even golden color.
Check that the internal temperature of the chicken has reached at least 74°C (165°F) using a meat thermometer.
7. Serve!
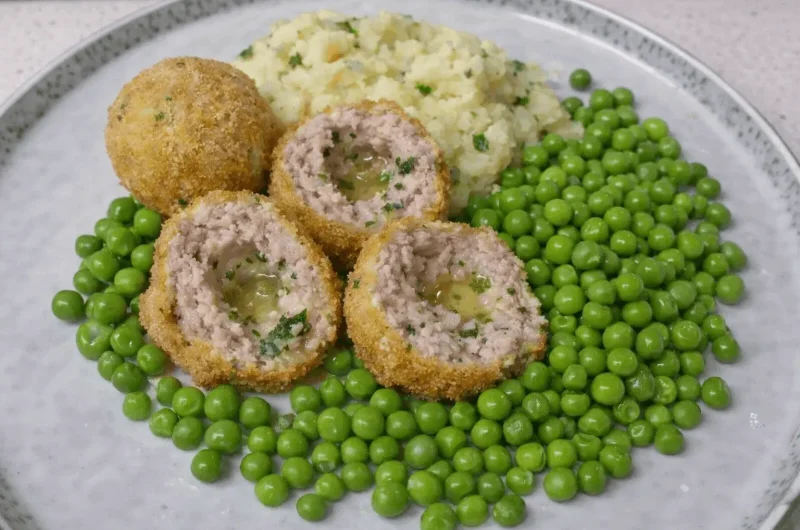
When that timer goes off, they are beautifully golden and sizzling. Remove from the air fryer and serve these immediately over mashed potatoes with some peas. It’s an easy dinner, and your family will love it too!
If you love creamy, cheesy dips with chicken, also try my Baked Buffalo Chicken Dip with Ranch on the side.
If you like this recipe Explore more recipes
FAQs
Why does my cooked chicken mince still look slightly pink?
Ground chicken can sometimes hold onto a slightly pink tint even when it is fully cooked through! The best and safest way to know your chicken Kievs are ready is to use a meat thermometer. As long as the very center of the chicken meat registers at 74°C (165°F), it is perfectly safe, juicy, and ready to eat!
How do I stop the butter from leaking out in the air fryer?
The ultimate trick is making sure your butter is frozen rock hard before you stuff the chicken. Secondly, make sure when you roll the chicken around the butter, there are absolutely no cracks or thin spots. Finally, giving the balls a light dusting of flour before dipping them in the egg acts as a seal to lock everything inside!
Can I make these ahead of time?
Yes! You can fully assemble and bread the chicken Kiev balls ahead of time. Just pop them in the fridge on a plate for up to 24 hours before you are ready to air fry them. In fact, resting them in the fridge actually helps the breadcrumb coating stick even better!
Can I bake these in a standard oven instead of an air fryer?
Absolutely. If you don’t have a Ninja Foodi or an air fryer, you can bake these in a conventional oven. Preheat your oven to 200°C (400°F). Place the breaded Kievs on a lined baking tray, give them a generous spray of oil, and bake for about 20–25 minutes, or until golden brown and cooked through.
Oozing Air Fryer Mini Chicken Kiev Balls
Course: Main CourseCuisine: British / Eastern European InspiredDifficulty: Easy2
servings10
minutes15
minutes580
kcal30
minutes55
minutesCrispy on the outside, juicy on the inside, and bursting with a molten garlic-parsley butter center! These generous, 10-minute-prep Mini Chicken Kievs are cooked to golden perfection in the air fryer.
Ingredients
- Equipment Needed:
Air Fryer
Meat Thermometer
Oil Sprayer
- Ingredients:
50g (3.5 tbsp) butter, softened
2 cloves garlic, crushed
1 tsp dried parsley
500g (1 lb) chicken mince (ground chicken)
Salt and black pepper, to taste
2 tbsp (20g) all-purpose flour
1–2 large eggs, beaten
50g (1 cup) Panko breadcrumbs
Vegetable oil spray
Directions
- Mix the softened butter, crushed garlic, and dried parsley in a small bowl. Divide into 6 equal chunks, place on a plate, and freeze for at least 30 minutes until rock hard.
- In a mixing bowl, season the chicken mince with salt and pepper. Divide the mixture into 6 equal portions.
- Flatten a portion of chicken in the palm of your hand. Place a frozen chunk of butter in the center and fold the meat around it. Roll it into a smooth ball, ensuring there are absolutely no cracks. Repeat with the remaining chicken and butter.
- Set up a breading station. Lightly roll each chicken ball in the flour, then dip into the beaten egg (letting excess drip off), and finally coat thoroughly in the Panko breadcrumbs.
- Preheat your air fryer to 180°C (350°F) for 5 minutes.
- Spray the air fryer basket with oil. Place the chicken balls in the basket with space between them, and spray the tops with oil.
- Air fry for 15 minutes, gently flipping them halfway through. Check that the internal temperature has reached 74°C (165°F).
- Serve hot over mashed potato with a side of peas!
Notes
- The Secret to No Leaks: Freezing the butter is non-negotiable! If the butter isn’t frozen, it will melt too quickly and burst through the raw chicken. Adding a light dusting of flour before the egg wash also creates a glue-like seal to keep that gorgeous butter safely inside.
- Doneness: Chicken mince can sometimes retain a slightly pink hue even when fully cooked. Always double-check with a meat thermometer to ensure it has hit 74°C (165°F)—that way you know it’s safe and perfectly juicy!
- Scale It Down: Want to make these for a party? Use smaller chunks of butter and divide the chicken into 15-20 bite-sized pieces to make fantastic canapés! Keep an eye on them, as smaller balls will need slightly less cooking time (around 10-12 minutes).