
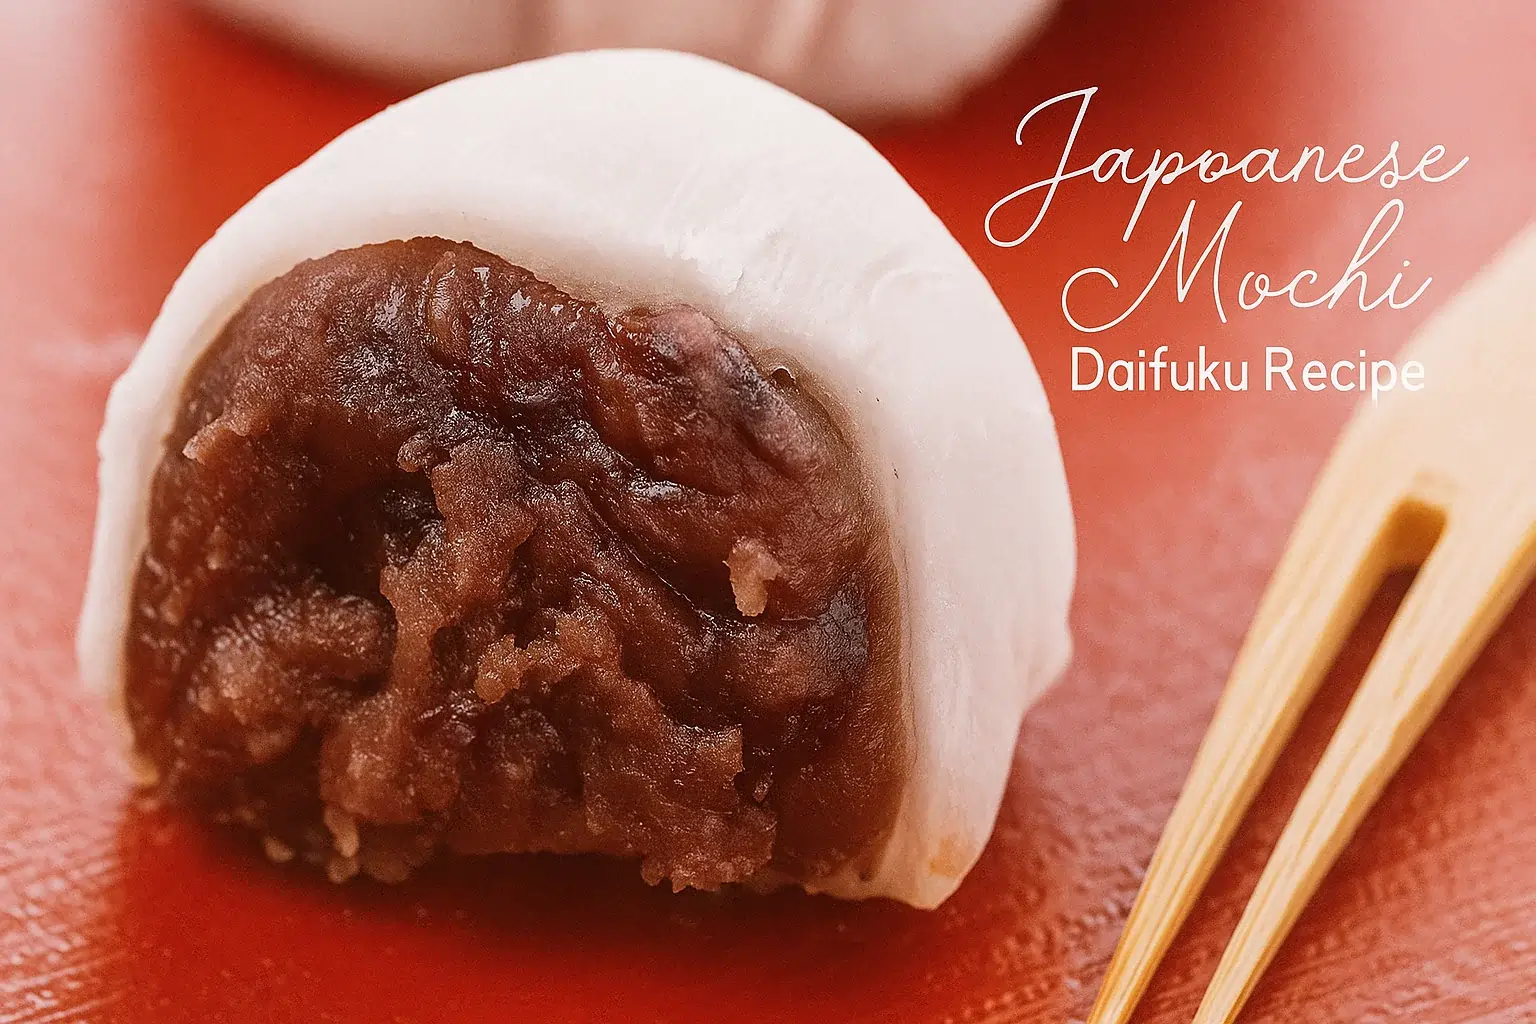
- Servings: 8
- Total time: about 20–25 minutes
Daifuku is a sweet rice cake stuffed with a sweet filling—most commonly red bean paste, called Anko in Japan. It’s such a nice Japanese snack to eat with tea, especially when you get a little hungry or need a break at work.
Making Daifuku by hand sounds difficult, right? But actually, it is very fun. It might be a little challenging for people who have never made it, though. But honestly, it’s a nice moment to experience and share your Daifuku with your children, friends, and your beloved partner.
There are several kinds of flavors in Japan, like Yomogi mochi, cherry blossom mochi, and sesame mochi. Most of them represent the seasons, but the basic dough is almost the same for all of them.
If you love this, check out Mochi Ice Cream at Home recipe also.
Table of Contents
Why You’ll Love This
Making Daifuku by hand sounds difficult, right? But actually, it is very fun! It might be a little challenging for people who have never made it, but honestly, it’s a really nice moment to experience and share your homemade Daifuku with your children, friends, and your beloved partner. Plus, mixing that dough on the stove is a pretty good arm workout!
Ingredients and Preparation
First of all, please prepare these portions of sweet rice flour, sugar, water, and red bean paste. I think you can find sweet rice flour at any grocery store near you. The basic dough is made of sweet rice, sugar, water, and red beans.
- Sweet Rice Flour: 4 oz (approx. 115g or 3/4 cup). Ensure this is Mochiko or Shiratamako, not regular rice flour.
- Sugar: 2 oz (approx. 55g or 1/4 cup). White granulated sugar is recommended for a snowy-white appearance.
- Water: 6 oz (approx. 175ml or 3/4 cup).
- Red Bean Paste (Anko): 8 oz total (approx. 225g). You can use Koshian (smooth) or Tsubuan (chunky) depending on your preference.
- Potato Starch or Cornstarch: Generous amount for dusting and handling.
Special Equipments
- Small, heavy-bottomed saucepan
- Sturdy silicone spatula (for continuous mixing)
- Baking sheet or large cutting board (for dusting)
- Pastry brush (optional, for removing excess starch)
- Kitchen scale (highly recommended for accuracy)
Making the Mochi Dough
Okay, let’s mix the measured sweet rice flour, sugar, and water together in a small pan. Just let the rice flour soak in the water for a little bit. Before we turn on the heat, though, go ahead and put some starch in a big pan or on a cutting board—we’re gonna need that later.
Now we can heat up the mixture over medium heat. Keep stirring! It’s gonna get sticky as it cooks, and the longer you stir, the stickier it gets (honestly, it’s a pretty good arm workout). You’ll know the mochi dough is ready when it turns kinda transparent; it only takes a couple of minutes.
Once it’s done, turn off the heat and carefully dump the cooked mochi dough onto the starch you prepared earlier. Just be super careful because it’s really hot!
Make Red Bean Paste Balls
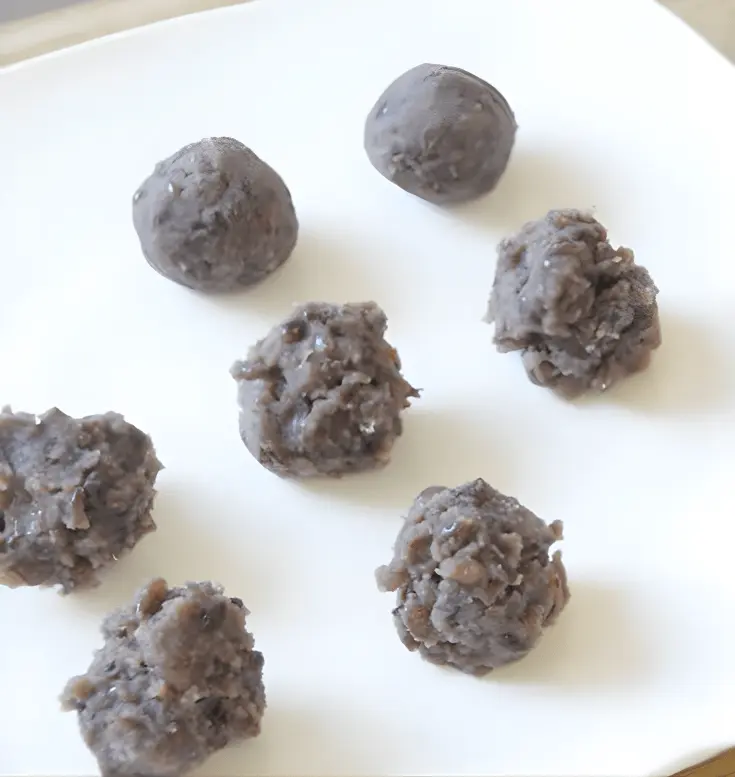
Divide the red bean paste into 8 equal balls, about 1 oz (28 g) each. Roll them smooth and set aside. (Store-bought is totally fine, homemade is amazing but takes hours.)
There are mainly two types of red bean paste, which is used for Japanese sweets.
- One is Koshian, which is finely strained paste.
- The other is Tsubuan, which has bean skins in the paste.
It’s totally up to you to use which one
also read:
- Super Easy 3-Ingredient Oreo Fudge Recipe
- Classic Holiday Baking: Gingerbread Cookies Recipe (Crisp, Spiced & Perfect for Decorating!)
Four Tips for Perfect Daifuku
There are a few tips to make beautiful, round-shaped Daifuku during the process.
Tip 1: Use White Sugar
Definitely go with white sugar, like regular granulated sugar or white cane sugar. It’s way better for Japanese sweets because brown sugars (think coconut sugar, brown cane sugar, muscovado, whatever) have a stronger flavor and they’ll tint your mochi dough kinda beige or brownish. I’m a big fan of that pure, snowy-white mochi look—it feels so clean and classic—but honestly, if you don’t mind a little color and extra flavor, it’s totally your call!
Tip 2: Keep Mixing With a Spatula
Whatever you do, don’t stop stirring once it’s on the heat. Keep that spatula moving the whole time, scraping from the bottom up and getting into all the corners. This stuff can scorch in seconds if you look away even for a moment, and trust me, burnt mochi is not something you want to deal with. Just keep stirring steadily and you’ll be totally fine!
Tip 3: Fold the Dough in Starch
You don’t need to put starch on the top immediately. Just fold the dough from edge to edge on your dusted surface, and eventually, the whole surface will be covered in starch.
Tip 4: Keep Mochi From Sticking to Your Fingers
Make sure the mochi doesn’t stick to your fingers by putting a good amount of starch on them. Mochi sticks easily to anything that doesn’t have enough starch on it.
Assembling Your Daifuku Mochi
Next, cut the dough into small pieces. I like to cut it using my thumb and pointer finger. It’s one of the best ways to divide and make perfectly round mochi pieces out of a big mochi dough. But if that is kind of difficult for you, it is totally fine to cut it with a knife.
The final process is to cover the red bean paste ball with a piece of mochi. Actually, this is the most difficult part in this whole process!
Put a piece of mochi on your palm and remove the extra starch with a brush. Put the red bean paste ball onto the mochi. Then hold the edges of the mochi with your thumb, pointer, and middle finger and rotate it clockwise while gently pushing the bean ball down with your other hand so it doesn’t pop out. Once the mochi has covered most of the ball, just pinch the edges together to seal it.
If you are interested in making your own Daifuku, please try making this at your place. Thank you for reading, guys.
If you like this recipe Explore more recipes
What is the difference between Daifuku and Mochi?
Mochi is actually a broader term for glutinous rice that has been pounded into a sticky, cake-like consistency. Daifuku is a specific dessert made from mochi that is stuffed with a sweet filling. Basically, all Daifuku are mochi, but not all mochi are Daifuku!
Can I put my leftover Daifuku in the fridge?
Please don’t put it in the fridge! Refrigeration actually causes the mochi to become hard and lose all of that wonderful, soft chewiness. It is best eaten fresh the day you make it, but you can safely store it in an airtight container in a cool, dry place on your counter for 1 to 2 days.
What does “Daifuku” actually mean?
The name “Daifuku” translates to “great luck” or “great fortune” in Japanese! Because of this lovely meaning, it’s a super popular treat for celebrations and special occasions, especially during the Japanese New Year.
Does it matter what kind of rice flour I use?
Yes, it is super important! You must use sweet rice flour (look for labels that say Mochiko, Shiratamako, or Glutinous Rice Flour). If you use regular white rice flour, your dough won’t get sticky or stretchy at all—it will just turn into a hard, dense paste.
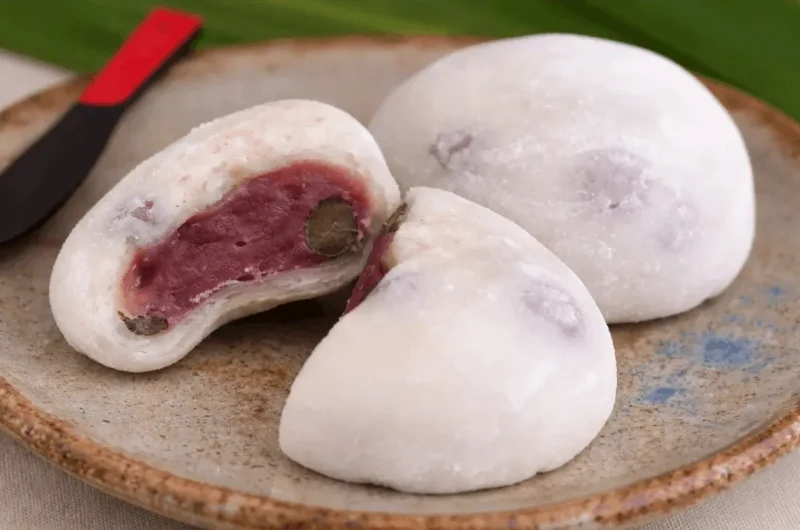
Homemade Daifuku (Japanese Stuffed Rice Cake)
Course: DessertCuisine: JapaneseDifficulty: Intermediate8
servings30
minutes10
minutes~140
kcal40
minutesWhile many modern recipes use a microwave, this traditional stovetop method gives you great control over the texture. It requires a bit of an "arm workout" to ensure the mochi is smooth and shiny, but the result is a classic, chewy treat.
Ingredients
- Special Equipment Needed:
Small, heavy-bottomed saucepan
Sturdy silicone spatula (for continuous mixing)
Baking sheet or large cutting board (for dusting)
Pastry brush (optional, for removing excess starch)
Kitchen scale (highly recommended for accuracy)
- Ingredients
4 oz (115g) Sweet Rice Flour (Mochiko or Shiratamako)
2 oz (55g) White Granulated Sugar
6 oz (180ml) Water
8 oz (225g) Red Bean Paste (Anko), divided into 8 balls
½ cup (100g) Potato Starch (Katakuriko) or Cornstarch, for dusting
Directions
- Prepare the Anko: Divide the red bean paste into 8 equal portions (about 1 oz / 28g each). Roll them into smooth balls and set aside on a plate.
- Prepare the Work Station: Dust a clean baking sheet or work surface generously with potato starch (or cornstarch). You will need this immediately after cooking.
- Mix the Dough: In a small saucepan, combine the Sweet Rice Flour, sugar, and water. Whisk or stir well until there are no lumps and the flour has soaked into the water.
- Cook the Mochi (Stovetop Method): Place the saucepan over medium heat. Using a sturdy spatula, stir the mixture constantly. Do not stop stirring or it will scorch.
- Achieve Texture: As the mixture heats, it will thicken and become very sticky. Continue stirring and folding the dough in the pan for 2 to 5 minutes. The dough is done when it changes from opaque white to a translucent, shiny color and pulls away from the sides of the pan.
- Transfer: Remove from heat and scrape the hot dough onto the starch-dusted surface. Caution: The dough will be extremely hot.
- Coat and Divide: Sprinkle more starch on top of the dough. Fold the dough over a few times to ensure the outside is not sticky. Divide the dough into 8 equal pieces. (You can use a knife or squeeze pieces off using your thumb and forefinger).
- Fill and Shape: Take one piece of mochi and flatten it into a disc (approx 3 inches wide). Brush off excess starch from the top surface. Place one ball of Anko in the center.
- Seal: Hold the mochi in one hand. Use your other hand to gently push the filling down while pulling the edges of the mochi up and around the filling. Pinch the edges firmly together to seal.
- Finish: Turn the Daifuku over (seam-side down) and gently reshape into a nice round ball. Repeat with remaining ingredients.
Notes
- Flour Type: You must use Sweet Rice Flour (also known as Glutinous Rice Flour, Mochiko, or Shiratamako). Regular rice flour will not become sticky or chewy—it will just be a hard paste.
- Storage: Daifuku is best eaten fresh on the day it is made. If you put it in the fridge, the mochi will harden and lose its chewiness. If you must store it, keep it in an airtight container in a cool, dry place for up to 24 hours.
- Sugar Tip: Do not reduce the sugar too much. The sugar helps the mochi stay soft and pliable. If you remove it, the mochi will become hard very quickly.
- Handling: If the dough is too hot to handle, let it sit on the starched surface for 1-2 minutes, but don't let it get cold, or it will be impossible to shape.