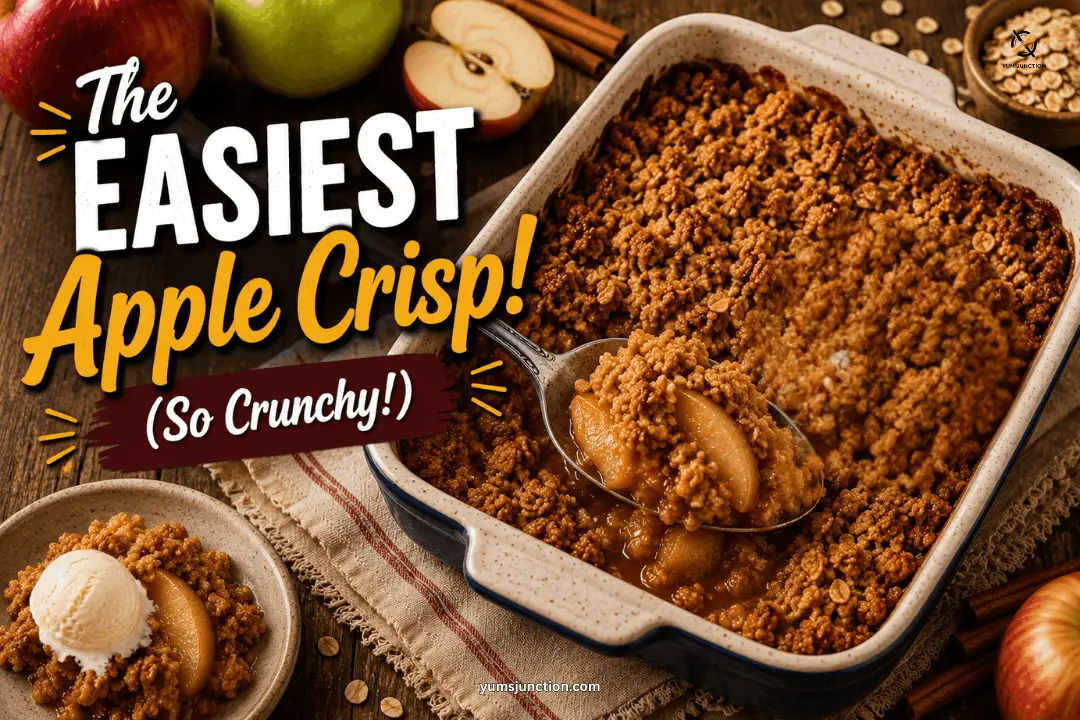
We are making an easy apple crisp recipe that comes together fast. This is one of those really easy recipes you can make where, if you feel like a sweet treat and you do not have a lot of time, you can just throw together a crisp.
Apple crisp is sliced apples baked under a crunchy, buttery oat topping (no pie dough needed). This recipe takes about 20 minutes to prep and 45 minutes to bake, and it is widely believed the dessert first showed up in cookbooks around the 1920s, which explains why it has stuck around for a century.
Why You Will Love This Easy Apple Crisp Recipe
- Unbelievably easy to prep. You do not have to fuss with rolling out pie dough. You just slice your apples, mix up a quick oat topping, and let the oven do the work.
- The ultimate texture contrast. You get those soft, warm, and perfectly spiced apples underneath a super crunchy and buttery oat topping. It gives such amazing apple pie vibes, but honestly, it might be even better!
- Restaurant quality richness. I use a little secret trick of dotting the apple filling with extra butter before adding the crust. It changes the mouthfeel of the crisp and gives you a lovely hit of richness. You will taste everything differently, just like a restaurant quality dessert.
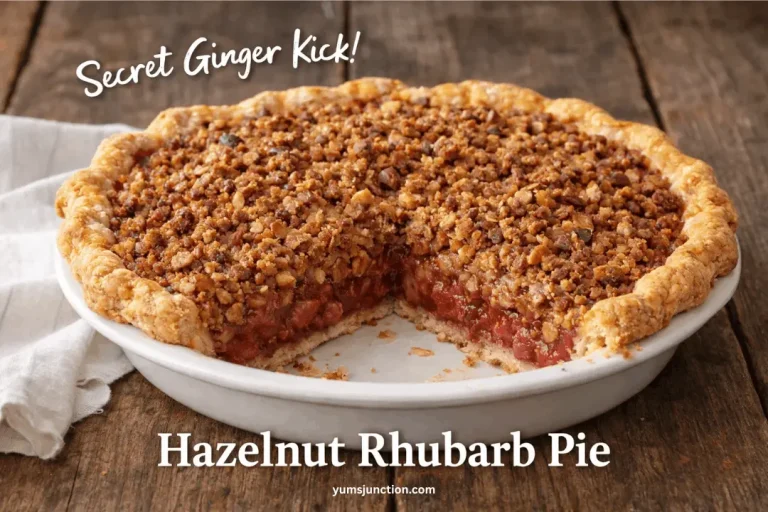
If you love cozy, fruit forward baking like this, you will probably fall for my Rhubarb Pie with Crystallized Ginger too. It has that same warm, spiced comfort in every bite.
Table of Contents
What You Will Need
Special Equipment
- 8×8 inch baking dish (or 9×13 inch if doubling)
- Vegetable peeler
- Sharp knife and cutting board
- Large mixing bowl (for the apples)
- Medium mixing bowl (for the topping)
- Pastry blender (optional, if you prefer not to use your hands)
- Kitchen scale (optional, for precise measurements)
For the Apple Filling
- 5 to 6 medium apples (about 2 and 1/2 lbs), like Granny Smith, Honeycrisp, McIntosh, Golden Delicious, or Gala
- 2 Tbsp lemon juice
- 1/3 cup brown sugar (or granulated sugar), tightly packed
- 1 Tbsp all purpose flour
- 1/2 tsp ground cinnamon
- 1/4 tsp ground nutmeg (optional: swap in cardamom, allspice, or a pinch of cloves)
- 1/4 cup cold butter, cut into small cubes
For the Oat Topping
- 1 and 1/4 cups (140g) old fashioned rolled oats
- 3/4 cup (90g) all purpose flour
- 1/2 cup (110g) brown sugar, packed
- 1 tsp ground cinnamon (optional: swap for pumpkin pie spice)
- 1/2 tsp salt
- 3/4 cup cold butter, cut into cubes
Let Us Get Cooking!
1. Prep the Oven
Preheat your oven to 350 degrees Fahrenheit (175 degrees Celsius) so it is nice and hot. Lightly grease an 8×8 inch baking dish. This is optional, but it is good insurance so nothing sticks!
2. Choosing and Prepping Your Apples
For this recipe, you are going to grab five to six apples, which is about two and a half pounds. I am using a combination of Granny Smith, which are nice and tart, with some Honeycrisp. Both of them will hold up beautifully during baking! If you prefer a softer baking apple, go for a McIntosh, Golden Delicious, or Gala.
You are going to peel all your apples, cut the flesh away from the core so you do not have any seeds, and then slice them into thin little slices. You want them to be fairly uniform so they all cook at the exact same rate. Just do not cut any giant pieces!
3. Mixing the Filling
Once your apples are all sliced up, transfer them to a big bowl. You are going to add two tablespoons of lemon juice, which gives a nice and zingy lift to contrast with the warming spices and the brown sugar. I usually just eyeball it! Toss the apples, then add in your tightly packed brown sugar, a little bit of flour to thicken the juices, ground cinnamon, and ground nutmeg. If you want to play around, you could absolutely add a quarter teaspoon of cardamom, allspice, or a pinch of cloves. Toss until the apples are evenly coated.
4. Assemble the Base and Add the Secret Butter Trick
Pour the apple mixture into your prepared baking dish and spread them out into a nice and even layer. Here is where the magic happens! Grab your quarter cup of cold butter, cube it up into small pieces, and just sprinkle it evenly over the top of the apples. The butter will melt in and be really delicious for added richness. Set this aside.
5. Make the Crisp Topping
In a medium bowl, we are combining old fashioned rolled oats for a ton of crisp character, all purpose flour, brown sugar, cinnamon, and a little salt for contrast. Mix to distribute the ingredients. To hold this all together, drop your three quarters of a cup of cold and cubed butter into the bowl.
6. Mushing the Crisp Topping
Now it is time to use your clean hands, a large fork, or a pastry blender to work the cold butter into your dry ingredients! Give it a toss first and break apart the pieces of butter that are stuck. Get to mushing until you end up with a crumbly mixture that has little clumps the size of peas. If you have hot hands and your butter melts into a giant glop, just pop it into the fridge, let it cool down, and you can crumble it up easily.
7. Top and Bake
Crumble your crisp topping over the apples in an even layer, and break up any excessively large chunks. Pop it into your 350 degree Fahrenheit oven and bake for about 45 minutes, or until the topping is a deep golden brown and the apple juices are bubbling around the edges.
8. Cool and Serve
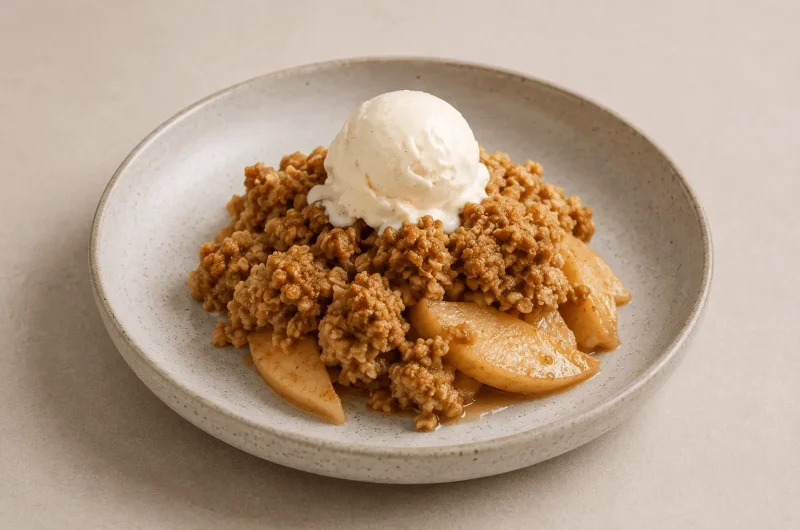
Allow your crisp to cool until it is merely warm. Plate it up with a big scoop of vanilla ice cream, and just like that, it is ready to enjoy!
Craving something you can pull together just as fast for a smaller batch? My Small Batch Chocolate Chip Cookies are the same “no fuss, big reward” energy as this crisp.
If you like this recipe Explore more recipes
FAQs
What are the best apples to use for apple crisp?
The best baking apples are firm and crisp varieties that hold their shape in the oven. I love using a 50/50 mix of tart Granny Smith and sweet Honeycrisp to get a really complex flavor. If you prefer softer apples, you can absolutely go for McIntosh, Golden Delicious, or Gala. Just try to avoid soft and mealy apples like Red Delicious.
Do you have to peel the apples for apple crisp?
You do not have to, but I highly recommend it! If you leave the skin on, it can separate from the flesh while baking, leaving you with tough and papery skins in your filling. Taking a few extra minutes to peel your apples gives you that perfectly soft and melt in your mouth texture.
Apple crisp vs crumble, what is the difference?
They are super similar and the terms get tossed around a lot, but the main difference is all in the topping. An apple crisp uses oats in the streusel like we do in this recipe, which toast up in the oven for a super textured and crunchy finish. An apple crumble usually has a softer and more cake like streusel made just from flour, sugar, and butter, without any oats.
How do you keep apple crisp from getting soggy?
The key is managing the moisture!
Always toss your apples with a little bit of flour to thicken those natural juices into a rich syrup instead of a watery soup. Make sure the butter for your topping is nice and cold so it bakes up crispy. Never cover a warm apple crisp. The trapped heat creates condensation, which will immediately melt your beautiful crispy topping. Allow it to cool fully before storing it.
Can I make this a gluten free or no oats apple crisp?
Yes. Swap the all purpose flour in both the filling and topping for a 1:1 gluten free blend, and use certified gluten free oats if that matters for your household. If you want an apple crisp without oats, you can skip them and add a little extra flour to the topping, though you will lose some of that classic crunchy texture.
Can I scale this up for a crowd?
Absolutely. This apple crisp for a crowd works great doubled in a 9×13 inch pan, just add a few extra minutes to the bake time and check that the topping is deep golden brown before pulling it out.
Easy Homemade Apple Crisp
Course: DessertCuisine: AmericanDifficulty: Easy6
servings20
minutes45
minutes400
kcal1
hour5
minutesThe ultimate warm, perfectly spiced apple crisp! Tender slices of apples baked under a rich, buttery, ultra-crunchy oat topping. Serve warm with vanilla ice cream for pure perfection
Ingredients
- Equipment Needed:
8×8-inch baking dish
mixing bowls
peeler, knife
pastry blender (optional)
- Ingredients:
5 to 6 medium apples, peeled, cored, and thinly sliced (about 2.5 lbs / 1.13 kg)
2 Tbsp lemon juice
⅓ cup brown sugar, packed (70g)
1 Tbsp all-purpose flour (8g)
½ tsp ground cinnamon
¼ tsp ground nutmeg
¼ cup cold butter, cubed (56g)
1 ¼ cups old-fashioned rolled oats (140g)
¾ cup all-purpose flour (90g)
½ cup brown sugar, packed (110g)
1 tsp ground cinnamon
½ tsp salt
¾ cup cold butter, cubed (170g)
Directions
- Preheat your oven to 350°F (175°C). Lightly grease an 8×8-inch baking dish.
- Peel, core, and thinly slice the apples. Place them in a large mixing bowl.
- Add the lemon juice and toss. Then, add ⅓ cup brown sugar, 1 Tbsp flour, ½ tsp cinnamon, and ¼ tsp nutmeg. Toss until apples are evenly coated.
- Transfer the apples to the prepared baking dish in an even layer. Evenly dot the top of the apples with the ¼ cup of cubed cold butter.
- In a medium bowl, combine the oats, ¾ cup flour, ½ cup brown sugar, 1 tsp cinnamon, and ½ tsp salt. Mix well.
- Add the ¾ cup of cubed cold butter. Use your fingers or a pastry cutter to work the butter into the dry ingredients until it forms coarse, pea-sized crumbs.
- Sprinkle the crumb topping evenly over the apples.
- Bake for 45 minutes until the topping is golden brown and the fruit juices are bubbling. Let cool slightly before serving warm with ice cream.
Notes
- The Best Apples: 50/50 mix of tart Granny Smith and sweet Honeycrisp! If you like softer baking apples, Gala, Golden Delicious, or McIntosh work great.
- Storage: This will keep in the fridge tightly covered for up to 3 days. It will still be delicious on the third day, but keep in mind the oat topping will absorb the moisture from the fridge and won’t have that original crispy texture.
- Scaling: Feeding a crowd or extra hungry people? You can easily double this recipe and bake it in a 9×13-inch pan.
- Pro Tip for the Topping: If you have naturally hot hands and your butter melts while you are mixing the topping (turning it into a giant glop), don’t panic! Pop the bowl into the fridge for 10 minutes to let it cool down, and you can crumble it up easily.