
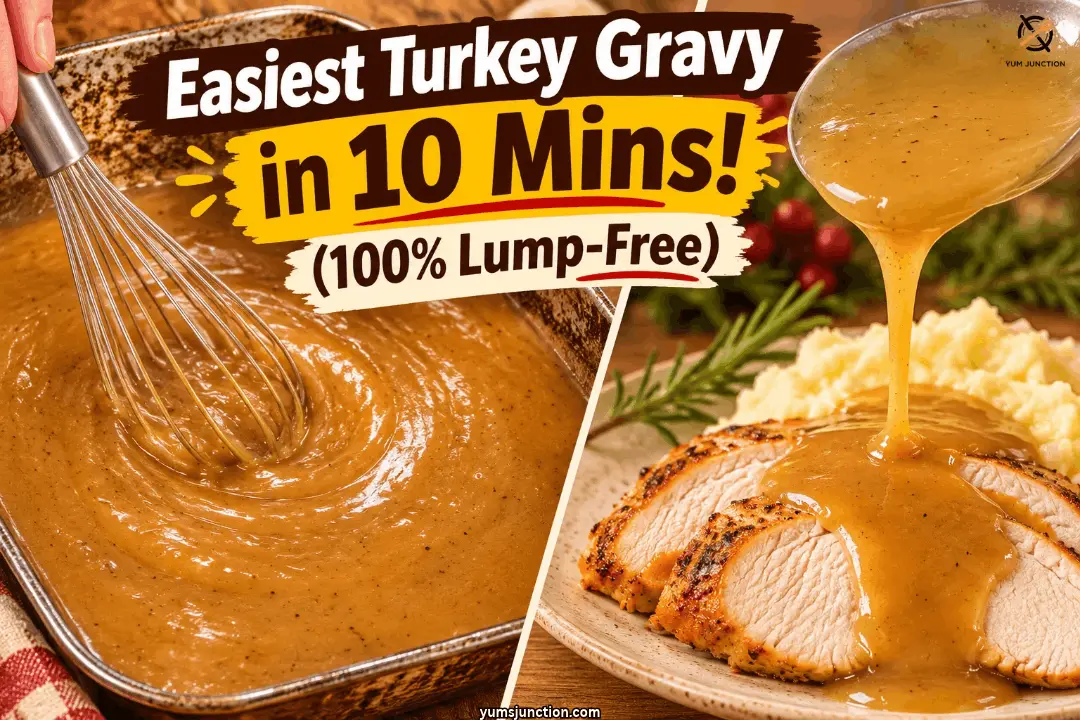
This turkey drippings gravy is made right in the roasting pan in four simple steps. You scrape up the browned bits with stock, shake a flour and stock slurry in a mason jar, whisk it into the pan, and simmer until it coats the back of a spoon. It takes about 10 minutes of cooking (about 15 minutes with prep), makes 4 cups, and stays lump free every time.
Thanksgiving is almost here, and Christmas is right around the corner. So, I want to quickly walk you through four simple steps to making the easiest turkey drippings gravy ever. Seriously, it can be done in 10 minutes. It is simple, fast, and completely foolproof.
If you are a beginner, do not sweat it. This method guarantees a lump free gravy every single time.
Table of Contents
Why You Will Love This Turkey Gravy From Drippings
- It Is Foolproof and Fast: Ready in just 10 minutes of cooking. You do not need to be a trained chef to pull this off!
- Lump Free Every Time: By using a simple mason jar slurry instead of a traditional roux, we completely eliminate the stress of lumpy gravy.
- Maximum Flavor: We are building this right in the roasting pan to harvest all that delicious turkey fond, which are those browned and tasty bits on the bottom.
Gravy is only as good as the bird it comes from! If you want the juiciest turkey to make these drippings, try my Juicy Brined and Stuffed Turkey first.
What You Will Need
Special Equipment
- Large roasting pan (or a large saucepan if transferring drippings)
- Whisk
- Flat edged spatula or wooden spoon
- Quart sized mason jar with a tight fitting lid (for the slurry)
- Fine mesh strainer (optional, for an extra smooth finish)
- Fat separator (optional, for measuring the fat)
- Gravy boat or serving vessel
- Oven mitts
The Ingredients
- 1/2 cup total fat: pan drippings or fat from your roasted turkey. If you do not have 1/2 cup of turkey fat, add unsalted butter to make up the difference, which is usually about 4 tbsp.
- 4 cups total liquid: chicken stock, turkey stock, vegetable stock, or water. Divided into two 2 cup portions. Low sodium stock is best.
- 10 tbsp (80 g) all purpose flour
- Salt and black pepper: to taste.
- Optional flavor enhancers: fresh herbs like thyme or rosemary, spices, a splash of spirits like sherry or white wine, or a dash of vinegar or Worcestershire sauce.
Let Us Get Cooking
1. Harvesting the Drippings
Your turkey is roasted and out of the oven. Remove the rack from the roasting tray, put the turkey to the side, loosely cover it, and let it rest. While it rests, you can make your delicious gravy right in the pan. Place the roasting pan directly on the stove over low heat, but only if it is a sturdy metal pan that is safe for the stovetop. If you have a glass or ceramic pan, pour the drippings into a large saucepan instead. Use oven mitts, because that pan is hot!
Those drippings at the bottom? That is pure, brown, and delicious goodness. Try to eyeball the amount of turkey fat you have in the pan, or spoon it into a fat separator to measure it. You will need roughly half a cup of fat total to make this recipe work. If you only have about a quarter cup of fat in your drippings, simply add 4 tablespoons of unsalted butter to make up the difference.
If you brined your turkey, those drippings will run salty, so go easy on the salt later. Taste before you season.
2. Melt and Deglaze
Turn your burner on low and melt that butter down. While it is melting, take a flat edged spatula and scrape the bottom of the pan to release those caramelized browned bits. That fond is where all your flavor lives! Once the butter is melted, pour in 2 cups (500 mL) of your stock whether it is chicken, turkey, or veggie, saving the other 2 cups for the next step. Keep the heat low. You just want to harvest the flavor, not reduce the liquid down or let it boil.
3. Making the Flour Slurry
This is your thickening agent! You will need a container with a tight fitting lid, and a quart sized mason jar works perfectly. Add 10 tablespoons (80 grams) of all purpose flour to the jar, then pour in your remaining 2 cups (500 mL) of cool or room temperature stock. Make sure the lid is secured nice and tight because you do not want this going all over the place! Give it a really good and vigorous shake until completely smooth and lump free. Nothing too difficult here, and it works like a charm. Note that if your jar is too small, just pour any extra stock directly into the roasting pan.
4. Mixing the Slurry into the Stock
Now, slowly pour and whisk your shaken flour slurry directly into the roasting tray. Crank your heat up to medium high and bring it to a light simmer, whisking frequently. If you have large chunks of drippings floating around, you can remove them or keep them in. It is homemade, so make it how you like it! Do not go anywhere, because this will thicken up relatively quickly.
5. Simmer to Desired Consistency
Once it starts to simmer and bubble, lower the heat to low. Let it bubble gently for a few minutes, whisking now and then, so the raw flour taste cooks out. Test the thickness by dipping a spoon in. If it coats the back of the spoon beautifully, it is ready. Turn off the heat.
Love a good gravy? My Easy Dutch Oven Pot Roast is another cozy dinner that comes with plenty of rich gravy to spoon over everything.
6. Adding Additional Flavor and Serving
Give it a quick taste! This is where you make it your own. Add a touch of salt and black pepper to adjust the seasoning. If you want to elevate it, any optional fresh herbs, spices, spirits, or a splash of vinegar can be added right now. Pour it into a saucepot to keep it hot on the stove while the rest of your holiday dinner comes together. If you like it silky smooth, just pour the mixture through a fine mesh wire strainer first into a clean saucepan until dinner is served!
Keep the gravy hot (above 140°F) while serving, and do not let it sit out for more than 2 hours.
That is it! Pretty easy, right? Ready in minutes, perfect for beginners, and lump free every single time.
What to Serve With This Turkey Gravy
- Turkey and stuffing: pour it over sliced turkey, like my Juicy Brined and Stuffed Turkey
- Potatoes: spoon it over mashed potatoes or my Crispy Garlic Herb Roasted Potatoes
- Veggies: drizzle it over my Roasted Root Vegetables for a cozy side
- Cranberry sauce: pair it with my Easy 4-Ingredient Cranberry Orange Sauce for the full Thanksgiving plate
- Dessert to finish: save room for my Silky Sweet Potato Pie
Storing and Reheating Leftover Gravy
- Refrigerate leftover gravy within 2 hours of cooking
- Store in an airtight container for up to 3 to 4 days, though gravy is one of the shorter lived leftovers, so aim to use it within 1 to 2 days for the best quality
- Reheat on the stovetop until it reaches a rolling boil, whisking in a splash of warm broth to restore the texture
- Freeze for up to 3 months for best quality, and thaw overnight in the refrigerator before reheating
If you like this recipe Explore more recipes
FAQs
How do I fix lumpy gravy?
Do not panic! With this mason jar slurry method, you should not have any lumps. But if you ever find yourself in a bind, just whisk vigorously for about a minute. If stubborn lumps remain, simply pour the gravy through a fine mesh wire strainer or hit it quickly with an immersion blender until it is silky smooth.
What if I do not have enough turkey drippings?
It happens to the best of us! If your turkey did not give off enough fat, just eyeball what you have and add unsalted butter until you reach that magic 1/2 cup mark. For the liquid, just top off whatever you have with store bought turkey or chicken stock until you reach the needed 4 cups.
How do I fix gravy that is too thin or too thick?
If it is too thin, let it simmer a little longer on the stove so it can reduce. If it is too thick, do not worry! Just whisk in a little warm turkey or chicken broth, a few tablespoons at a time, until you reach your favorite consistency. Make it how you like it!
Can I make turkey gravy ahead of time?
You sure can! You can make a stock based gravy 2 to 3 days in advance. Store it covered in the refrigerator. When you are ready for dinner, just reheat it on the stovetop over low heat until it reaches a rolling boil, whisking in a splash of warm broth to bring back that perfect and smooth texture.
Can I use cornstarch instead of flour for gluten free gravy?
Absolutely! If you need a gluten free option, you can swap the flour for cornstarch. You will want to use about half the amount of cornstarch compared to flour. Mix it with cold water or cool stock to create a smooth slurry, whisk it into your simmering drippings, and cook for 1 to 2 minutes until beautifully thickened. Check your stock label too, since some stocks contain gluten.
Can I make turkey gravy without stock or broth?
Yes. Water works as your liquid, since the flavor comes mostly from the drippings and the browned bits. Because water adds no seasoning, taste the gravy at the end and add salt, pepper, herbs, or a splash of Worcestershire sauce as needed.
Is this turkey gravy dairy free?
It can be. If you have enough turkey fat, there is no butter at all, so the gravy is naturally dairy free. If you need to add fat, use a dairy free butter or a neutral oil instead of butter.
Why is my gravy too salty?
Stock is often salty, and drippings from a brined turkey run salty too. Use low sodium stock, hold off on adding any salt until the very end, and taste first. If it is already too salty, whisk in a little unsalted stock or water.
Can you freeze turkey gravy?
Yes. Cool it, then freeze in an airtight container for up to 3 months for best quality. Flour thickened gravy freezes better than cornstarch gravy. Thaw it overnight in the refrigerator, reheat to a rolling boil, and whisk well, since it can separate a little.
Can I double this recipe for a big crowd?
You can scale it up by doubling the ingredients in a large roasting pan or a big pot. I have not tested larger batches, so give it extra whisking time and adjust with warm broth if it gets too thick.
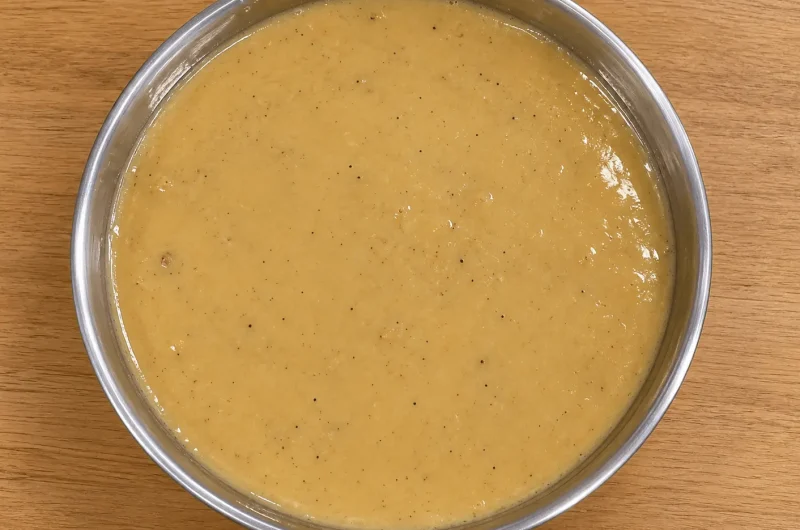
Easiest Turkey Drippings Gravy Ever
Course: Side DishCuisine: AmericanDifficulty: Easy8
servings5
minutes10
minutes150
kcal15
minutesA foolproof, 10-minute turkey gravy made directly in the roasting pan. Using a simple shaken flour slurry, this recipe guarantees a rich, lump-free gravy every single time.
Ingredients
- Equipment Needed:
Roasting pan or saucepan
Whisk
Quart-sized mason jar with lid
Fine-mesh strainer (optional)
- Ingredients:
1/2 cup turkey fat/drippings (supplement with unsalted butter if needed to reach 1/2 cup)
4 cups (1 liter) turkey or chicken stock, divided (low sodium recommended)
10 tbsp (80 g) all-purpose flour
Salt, to taste
Black pepper, to taste
Optional: herbs, spirits, or vinegar to taste
Directions
- Remove the roasted turkey and rack from the pan. Set the pan on the stovetop over low heat (only if it is stovetop safe, otherwise use a saucepan).
- Check your fat levels. You need 1/2 cup of fat total. Add butter if you don’t have enough turkey fat. Allow the butter to melt.
- Scrape the bottom of the pan to release the flavorful brown bits (fond). Pour in 2 cups of stock. Do not bring to a boil.
- In a quart-sized mason jar, combine the 10 tbsp (80 g) of flour and the remaining 2 cups of cool stock. Seal the lid tightly and shake vigorously until smooth to create your slurry.
- Slowly whisk the slurry into the roasting pan.
- Increase the heat to medium-high and bring to a light simmer, whisking frequently as it thickens.
- Once simmering, reduce heat to low. Let it bubble gently for a few minutes until the raw flour taste cooks out and it coats the back of a spoon.
- Taste and adjust seasoning with salt, pepper, and optional herbs. Strain through a fine-mesh sieve if desired, and transfer to a saucepot to keep hot.
Notes
- The Stock Trick: Make sure the 2 cups of stock you add to the mason jar are cool or room temperature. Shaking hot liquid in a sealed jar can build up pressure.
- Salt Watch: Stock and drippings from a brined turkey can be salty. Use low sodium stock and taste before adding salt.
- Food Safety: Keep gravy hot (above 140°F) while serving and refrigerate within 2 hours. Reheat leftovers to a rolling boil.
- Storage: Store leftover gravy in an airtight container in the fridge for up to 3 to 4 days (aim for 1 to 2 days for best quality). Reheat on the stovetop, whisking in a splash of warm broth to restore its silky texture. Freezes up to 3 months.
- Make It Your Own: A dash of Worcestershire sauce, a sprig of fresh thyme, or a splash of sherry right at the end can take this from great to mind-blowing. Keep whisking, y’all!
- Allergen Note: Contains gluten (flour) and dairy if butter is used. Check your stock label for allergens.