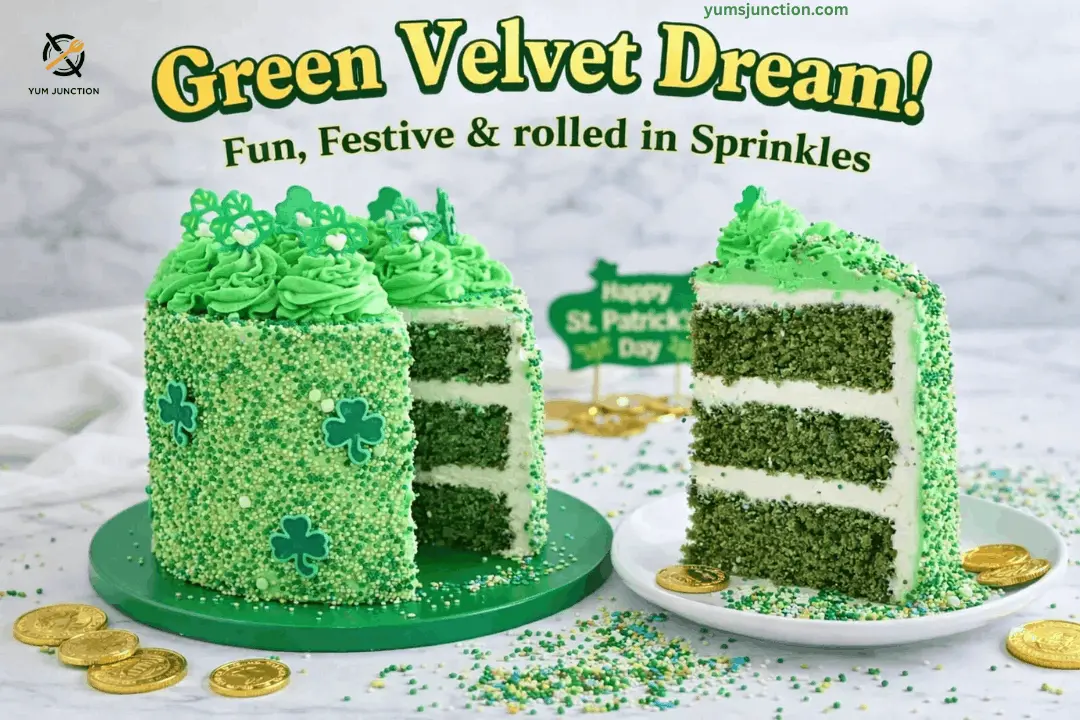
In this post, I am going to show you guys how to make a St. Patrick’s Day special Green Velvet Cake. It’s vibrant, it’s delicious, and I’ve got all the ingredients including what we’re going to be using to decorate after. I’ve also got all the McCall’s sprinkles that you can get for St. Patrick’s Day, as well as a cute little sign!
Everything is measured out, and I’ll take you guys through the process.
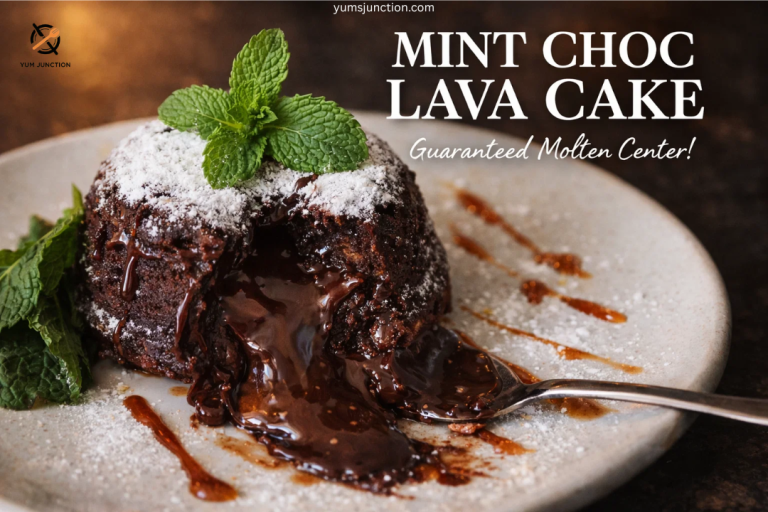
If you’re planning a full St. Patrick’s Day dessert table, you’ve got to check out my St. Patrick’s Day Special: Amazing Chocolate and Mint Lava Cake! and my super easy freezer treat, Mint Chip Ice Cream Pie. Both are so fun alongside this cake.
Table of Contents
Why You’ll Love This St. Patrick’s Day Cake
- It’s So Much Fun: Rolling the cake in sprinkles literally feels like playing with a toy. It gets a little messy, but that’s the best part!
- That Color: We use a mix of leaf green and lemon yellow to get a shade that pops. It’s way more exciting than a standard cake.
- Nostalgic Vibes: St. Patrick’s Day is actually one of my favorite times of the year! I used to love celebrating it while I was in my university days, and this cake brings all that fun back.
What You’ll Need
Special Equipment:
- Two 8-inch round cake pans
- Hand mixer or stand mixer
- Whisk
- Offset spatula
- Cake scraper/smoother
- Piping bag with star tip
- Flat spatula (for lifting cake)
The Cake Ingredients:
- 2 ½ cups all-purpose flour (or cake flour for extra tenderness)
- 1 ½ cups granulated sugar
- 1 tsp baking soda
- 1 tsp salt
- 1 tbsp cocoa powder (natural, unsweetened)
- 1 cup buttermilk (room temperature)
- ½ cup vegetable oil
- ½ cup unsalted butter, melted
- 2 large eggs (room temperature)
- 1 tsp vanilla extract
- 1 tsp white vinegar
- Gel food coloring: McCall’s leaf green & lemon yellow
The Filling & Frosting:
- Filling: 2 cups cream cheese frosting
- Frosting: 3–4 cups buttercream frosting (tinted green)
- Decor: Festive sprinkles (green, white, gold mix) and toppers (clover rings, hats, signs)
Let’s Get Baking!
1. Getting Started: The Mix
First, let’s prep all of our dry ingredients together. Get your flour, sugar, salt, baking soda, and a little bit of cocoa powder. Just toss them all into a bowl and give it a little bit of a whisk.
For the wet ingredients, just throw everything into a bigger bowl. Start with melted butter, then add eggs, vanilla extract, vegetable oil, buttermilk, and vinegar.
2. The Magic Colors
Now for the magic—the colors! Use a little bit of McCall’s leaf green and then the lemon yellow to create that beautiful green. Just put in a couple of drops of each and whisk it all up.
3. Combine
Then, just mix the wet ingredients into the dry. You’re going to want to use a hand mixer so that you’re not mixing for too long, but if you don’t have one, a whisk will work just fine—you’re just going to have to put in some arm strength!
4. Baking and Prepping
Get your oven preheating to 350 degrees Fahrenheit (175°C). Grease and line your pans if needed. Get your mixture into the greased pans, and you are going to bake them for about 30 to 35 minutes. You’re going to want to stick a toothpick in there to make sure they’re done.
5. Trim the Top
Once they are cooled, I like to go in and trim them just to take some of that caramelization from baking off so that we can see that beautiful green velvet inside.
6. Fill and Chill
Fill the cake with cream cheese icing, top with the second layer, and give it a crumb coat with buttercream. Pop it into the freezer for a quick 15-minute flash chill. Once that’s set, cover it in a final thick layer of green buttercream.
7. The Decoration: Sprinkles and Swirls!
This is my favorite part! Make our own St. Patty’s sprinkle mix on a baking sheet. Carefully take the cake off the board (grab a flat spatula for this!) and roll the sides in the sprinkles. It’s going to look so good!
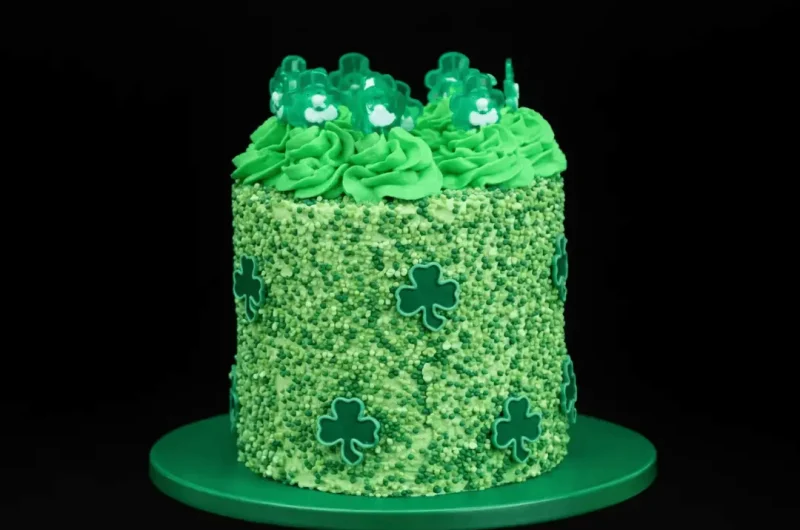
To finish, just put it on a fresh board, do some nice piping swirls on top, and add our toppers—clover rings, hats, and a festive sign. It really brings it to life!
And if you love the whole “velvet” vibe but don’t need a big party cake, I also have a Small‑Batch Red Velvet Cake that’s perfect for date night or a tiny celebration.
If you like this recipe Explore more recipes
FAQs
What does Green Velvet Cake actually taste like?
It tastes sweet with a slightly tangy flavor from the buttermilk and a mild cocoa undertone! It’s not a strong chocolate flavor; it has more of those buttery vanilla notes. The u0022velvetu0022 just means it has a super soft, tender texture.
Is this just Red Velvet Cake with green coloring?
Structurally, yes! It uses the same science—acidic ingredients like buttermilk and vinegar mixed with a tiny bit of cocoa powder to get that tender crumb. We just swap the red dye for leaf green and lemon yellow to get that festive look!
Do I really need the cocoa powder?
The cocoa powder adds a little depth of flavor that makes it a true u0022velvetu0022 cake. However, it does darken the batter. If you want a neon-bright green, you can leave it out, but I like keeping it in for that classic taste!
Can I make this without a mixer?
Absolutely! As I mentioned, if you don’t have a hand mixer, a whisk works just fine. You’re just going to have to put in some arm strength to make sure that batter is smooth!
How do I store the leftovers?
Since we are using cream cheese icing for the filling, you’ll want to wrap the cake in plastic wrap or put it in a cake container and keep it in the fridge. It stays fresh for about 4–5 days when well covered.
St. Patrick’s Day Green Velvet Cake
Course: DessertCuisine: American, HolidayDifficulty: Intermediate12
Slices30
minutes35
minutes450
kcal30
minutes1
hour35
minutesA fun and festive twist on classic velvet cake! This Green Velvet Cake is moist, tender, filled with cream cheese icing, and rolled in a custom sprinkle mix for the ultimate St. Patrick’s Day treat.
Ingredients
- Equipment Needed:
2 x 8-inch cake pans
Electric mixer
Mixing bowls
Offset spatula
Cake scraper
- Ingredients
2 ½ cups all-purpose flour
1 ½ cups granulated sugar
1 tsp baking soda
1 tsp salt
1 tbsp cocoa powder
1 cup buttermilk
½ cup vegetable oil
½ cup melted butter
2 eggs
1 tsp vanilla extract
1 tsp white vinegar
Leaf green gel color
Lemon yellow gel color
2 cups cream cheese frosting (for filling)
4 cups buttercream frosting (for coating/piping)
1 cup festive sprinkles
Directions
- Preheat & Prep: Preheat oven to 350°F (175°C). Grease and flour two 8-inch cake pans (or line the bottoms with parchment).
- Mix Dry Ingredients: In a medium bowl, whisk together flour, sugar, baking soda, salt, and cocoa powder. Set aside.
- Mix Wet Ingredients: In a large bowl, combine melted butter, buttermilk, vegetable oil, eggs, vanilla extract, and vinegar. Whisk until smooth.
- Color the Batter: Add a few drops of leaf green and a drop of lemon yellow gel color to the wet ingredients. Whisk until you reach a vibrant green (remember, it darkens slightly as it bakes).
- Combine: Pour the wet ingredients into the dry ingredients. Mix with a hand mixer (or whisk with some arm strength!) until just combined. Give the bowl a twirl with a spatula to ensure no dry pockets remain.
- Bake: Divide batter evenly between the pans. Bake for 30–35 minutes, or until a toothpick inserted into the center comes out clean.
- Cool & Trim: Let cakes cool completely. Trim off the top “caramelized” brown crust to reveal the bright green interior and level the cakes.
- Fill & Crumb Coat: Place the first layer on a board. Fill with cream cheese icing. Top with the second layer. Coat the entire cake in a thin layer of buttercream (crumb coat). Flash chill in the freezer for 15 minutes.
- Frost: Tint your remaining buttercream green. Cover the chilled cake with a smooth, thick layer of green buttercream using an offset spatula and scraper. Chill again for about 10 minutes.
- The Sprinkle Roll: Pour sprinkles onto a baking sheet. Carefully lift the cake off the board using a flat spatula and roll the sides in the sprinkles.
- Decorate: Place the cake on a clean board (use a dollop of frosting to secure it). Pipe swirls on top and add festive toppers or signs.
Notes
- Storage: Because of the cream cheese filling, keep this cake refrigerated in a covered container. For best quality and food safety, enjoy within about 4–5 days. Let it sit at room temperature for 20–30 minutes before serving so the crumb and frosting soften up.
- Buttermilk Sub: If you don’t have buttermilk, add 1 tablespoon of vinegar or lemon juice to 1 cup of regular milk and let it sit for 5 minutes.
- Pro Tip: Don’t skip the “flash chill” steps! It makes smoothing the buttercream and rolling the cake in sprinkles much easier without making a huge mess.