
Hi everyone! In this post, I’m going to walk you through exactly how I make crisp, heart‑shaped cookies from mixing the dough to decorating with royal icing. I’m always tweaking and learning, but this method consistently gives me the best results for cut‑out hearts that hold their shape and look professional.
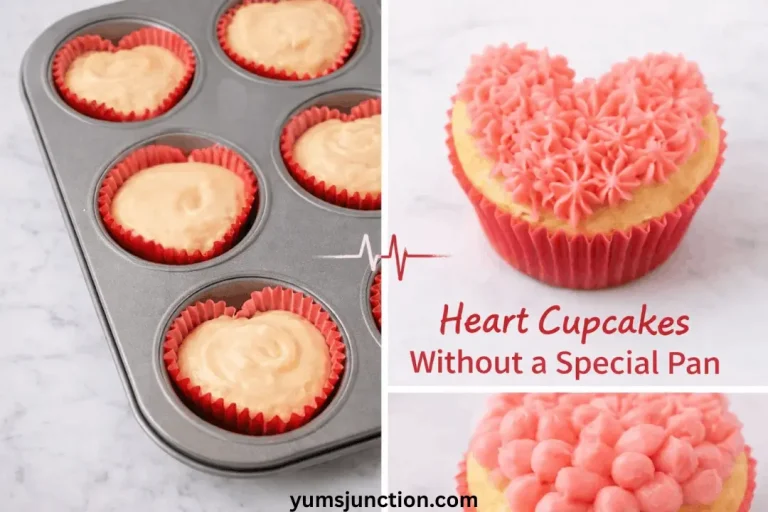
If you’re planning a whole cozy baking night, you might also love my Heart‑Shaped Cupcakes and Sweet Fudgy Red Velvet Brownies with Cream Cheese Frosting.
Why You’ll Love These Heart Cookies
- Sharp Heart Edges: A little cornstarch in the dough helps the cookies bake up with clean, crisp edges that don’t spread, so your hearts actually look like hearts.
- Vanilla Bean Specks: Vanilla bean paste adds visible specks and deep flavor, making even plain white‑iced hearts look extra special.
- Perfect for Decorating: The dough rolls smoothly, doesn’t puff too much, and pairs perfectly with royal icing that you can adjust to any consistency you need.
Part 1: Heart-Shaped Vanilla Bean Cookies
Special Equipment
- Stand mixer with paddle attachment
- Rolling pin + 5/16‑inch dough guides
- Heart‑shaped cookie cutters (various sizes if you like)
- Parchment paper
- Perforated baking mats (or parchment if you don’t have them)
Cookie Ingredients
- 1 cup (227 g) unsalted butter, softened (cool side of room temperature)
- 1 cup (200 g) granulated sugar
- 1 large egg
- 1 tbsp vanilla bean paste
- 3 cups (375 g) all‑purpose flour
- 2 tbsp (15 g) cornstarch
- ½ tsp (3 g) salt
- Powdered sugar, for dusting the rolling surface
Cookie Instructions
- Preheat & Prep
Preheat oven to 350°F (175°C). Line baking sheets with perforated mats or parchment. Set dough guides to about 5/16 inch for sturdy heart shapes. - Cream Butter & Sugar
Add the cool‑room‑temp butter to the mixer bowl and whip briefly on medium to lighten. Add the sugar, starting on low, then increasing to medium‑high. Cream 2–3 minutes until pale and fluffy. Scrape the bowl. - Add Egg & Vanilla
Add the egg and vanilla bean paste. Mix until fully combined and the mixture looks light and fluffy again. Stop once it’s well mixed—no need to beat longer. - Add Dry Ingredients
In a separate bowl, whisk together the flour, cornstarch, and salt. Turn the mixer to the lowest speed (stir) and gradually add the dry mixture. Mix just until the dough clumps on the paddle and pulls away from the sides of the bowl. Do not overmix; that can make the cookies tough. - Roll Out the Dough
Lightly dust a sheet of parchment with powdered sugar. Turn the dough out and roll to about 5/16 inch thickness using your guides. Using sugar instead of flour keeps the dough from drying out so you can re‑roll scraps. - Cut Heart Shapes
Use heart‑shaped cookie cutters to cut as many hearts as you can. Gather and gently re‑roll scraps, dusting with a bit more powdered sugar if needed, and keep cutting until the dough is used up. - Bake
Transfer hearts to prepared baking sheets, leaving a little space between them. Bake 9–12 minutes, depending on size. The tops should look matte, and the edges just barely turning light golden. - Cool Completely
Let the cookies cool on the sheet for 5 minutes, then move to a wire rack to cool completely before decorating with royal icing.
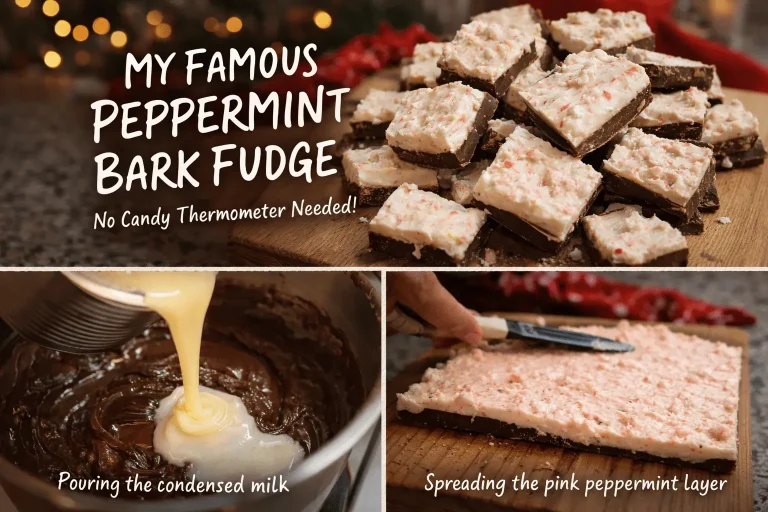
These heart cookies also look amazing on a dessert board next to my Super Simple Dark Chocolate & Pistachio Bark and Sweet Fudgy Red Velvet Brownies with Cream Cheese Frosting.
Part 2: “No-Tears” Royal Icing (Base for Hearts)
This foam‑first royal icing is perfect for outlining, flooding, and adding details to your heart cookies.
Royal Icing Ingredients
- 4 cups (about 454 g / 1 lb) powdered (confectioners’) sugar
- 3 tbsp meringue powder
- ⅓–½ cup (80–120 ml) warm water or lemon juice (start with ⅓ cup and add as needed)
- 1 tsp clear vanilla extract (optional)
- Gel food coloring (reds, pinks, whites, etc.)
Royal Icing Instructions
- Foam Stage
In the mixer bowl, combine meringue powder and about ⅓ cup warm water or lemon juice. Using the paddle attachment, beat on medium‑high until thick, foamy, and frothy. Scrape the bowl so all the powder is hydrated. - Add Sugar
Add all the powdered sugar and the clear vanilla (if using). Mix on the lowest speed until everything is moistened and no dry sugar remains. - Beat to Stiff Peak
Increase speed to medium‑low and beat for 3–5 minutes. The icing will become bright white, thicker, and increase in volume. When you lift the paddle, a peak should stand straight up—this is stiff peak consistency. - Color the Icing
Divide the stiff icing into separate bowls. Add gel food coloring (red, pink, etc.) to each bowl while the icing is still stiff. Gel color keeps the consistency stable compared with liquid color. - Thin to Working Consistency
Use a spray bottle of warm water to thin small portions of each color to the consistency you need:
Slightly thicker for outlines and lettering.
Thinner flood for filling in hearts.
Part 3: Royal Icing Consistency for Hearts
For heart cookies, you’ll mainly use these consistencies:
Soft Peak (“Warm Toothpaste”)
Best for lettering (e.g., “Love,” “XO”) and small puffy details.
Test: Peaks collapse, but the mound holds shape and looks glossy; it only fully levels if you gently jiggle the bowl.
Thick Flood
Best for one‑consistency outlining and flooding simple hearts.
Test: Icing falls from the spoon in a smooth trickle. When dropped back into the bowl, you need to shake the bowl to smooth it out.
Thin Flood
Best for smooth, flat hearts and wet‑on‑wet designs (polka dots, marbling, tiny hearts inside hearts).
Test: Icing runs off the spoon in a quick ribbon and settles flat on its own within a few seconds.
Use thicker icing for outlines and details, and thinner icing to flood the centers of your hearts.
If you loved decorating these cookies, try keeping the heart theme going with my Heart‑Shaped Cupcakes or even a fun savory twist: Hot Honey Pizza with Homemade Roasted Tomato Sauce.
If you like this recipe Explore more recipes
FAQs
Why do you add cornstarch to the cookie dough?
Cornstarch helps control spread and sharpens the cookie edges while keeping the interior tender, which is exactly what you want for precise heart shapes.
Do I really need perforated mats for these cookies?
They’re optional but helpful. The tiny holes let air circulate under the cookies, which gives very even browning and flat bottoms. If you don’t have them, parchment works; your hearts may spread just a bit more.
Why isn’t my royal icing hardening on the hearts?
Too much added water or high humidity is usually the issue. Let your decorated hearts dry uncovered at cool room temperature for 8–12 hours (ideally overnight). In humid climates, placing them in front of a fan helps the icing crust and harden.
How should I store leftover royal icing?
Transfer leftover icing to an airtight container and press plastic wrap directly onto the surface to prevent crusting. Royal icing made with meringue powder can typically be kept at room temperature for up to about 2 weeks; for longer storage, refrigerate or freeze and re‑mix before using.
How do I store the finished heart cookies?
Once the royal icing is completely dry and hard, store cookies in an airtight container at cool room temperature. Properly dried, decorated sugar cookies can stay fresh for about a week.

Heart-Shaped Vanilla Bean Cookies with Royal Icing
Course: DessertCuisine: AmericanDifficulty: Intermediate24
heart cookies35
minutes10
minutes220
kcal11
hours39
minutes45
minutes13
hours9
minutesCrisp, vanilla bean cut‑out heart cookies made with cornstarch for sharp edges, decorated with versatile meringue‑powder royal icing that can be thinned to any consistency for outlining, flooding, and lettering.
Ingredients
- Equipment Needed
Stand mixer with paddle attachment
Rolling pin with 5/16‑inch guides
Heart‑shaped cookie cutters
Parchment paper and/or perforated baking mats
Mixing bowls and spatulas
Piping bags (or tipless bags)
Spray bottle with warm water
- Cookie Ingredients
1 cup (227 g) unsalted butter, softened (cool side of room temp)
1 cup (200 g) granulated sugar
1 large egg
1 tbsp vanilla bean paste
3 cups (375 g) all‑purpose flour
2 tbsp (15 g) cornstarch
½ tsp (3 g) salt
Powdered sugar, for dusting
- Royal Icing Ingredients
4 cups (about 454 g / 1 lb) powdered sugar
3 tbsp meringue powder
⅓–½ cup (80–120 ml) warm water or lemon juice (start with ⅓ cup)
1 tsp clear vanilla extract (optional)
Gel food coloring (reds, pinks, whites, etc.)
Directions
- Make the Cookie Dough: Preheat oven to 350°F (175°C). Line baking sheets. Cream butter and sugar until pale and fluffy. Beat in egg and vanilla bean paste until well combined.
- Add Dry Ingredients: In another bowl, whisk flour, cornstarch, and salt. Add to the mixer on low and mix just until the dough comes together and pulls from the sides.
- Roll & Cut Hearts: Dust parchment with powdered sugar. Roll dough to about 5/16 inch thick. Cut heart shapes with cookie cutters, re‑rolling scraps as needed.
- Bake & Cool: Arrange hearts on prepared sheets. Bake 9–12 minutes, until tops look matte and edges just begin to turn golden. Cool 5 minutes on the sheet, then fully on a rack.
- Make Royal Icing Base: Beat meringue powder with about ⅓ cup warm water until foamy. Add powdered sugar and vanilla. Mix on low to combine, then beat on medium‑low 3–5 minutes until stiff peaks form.
- Color & Thin Icing: Divide stiff icing into bowls and tint with gel food coloring. Thin small portions with water from a spray bottle to soft‑peak or flood consistency depending on the design.
- Decorate Hearts: Outline hearts with a slightly thicker icing, then flood the centers with thinner icing. Use a scribe or toothpick to pop bubbles and nudge icing into corners. Add wet‑on‑wet dots, marbling, or lettering as desired.
- Dry Completely: Let decorated heart cookies dry uncovered at room temperature for 8–12 hours, or until the icing is completely hard before stacking or packaging.
Notes
- Warm Kitchens: If your kitchen is hot, chill cut hearts on the tray for 10–15 minutes before baking to help them hold their shape.
- Royal Icing Storage: Store leftover icing in an airtight container with plastic wrap directly on the surface for up to about 2 weeks at room temperature; refrigerate or freeze for longer storage and re‑mix before use.
- Design Ideas: Use different shades of pink and red, add polka dots or tiny hearts with wet‑on‑wet, or write short messages (“XO,” “Love,” “Be Mine”) with soft‑peak icing.